






Final Fantasy II - Guide


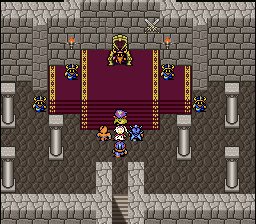
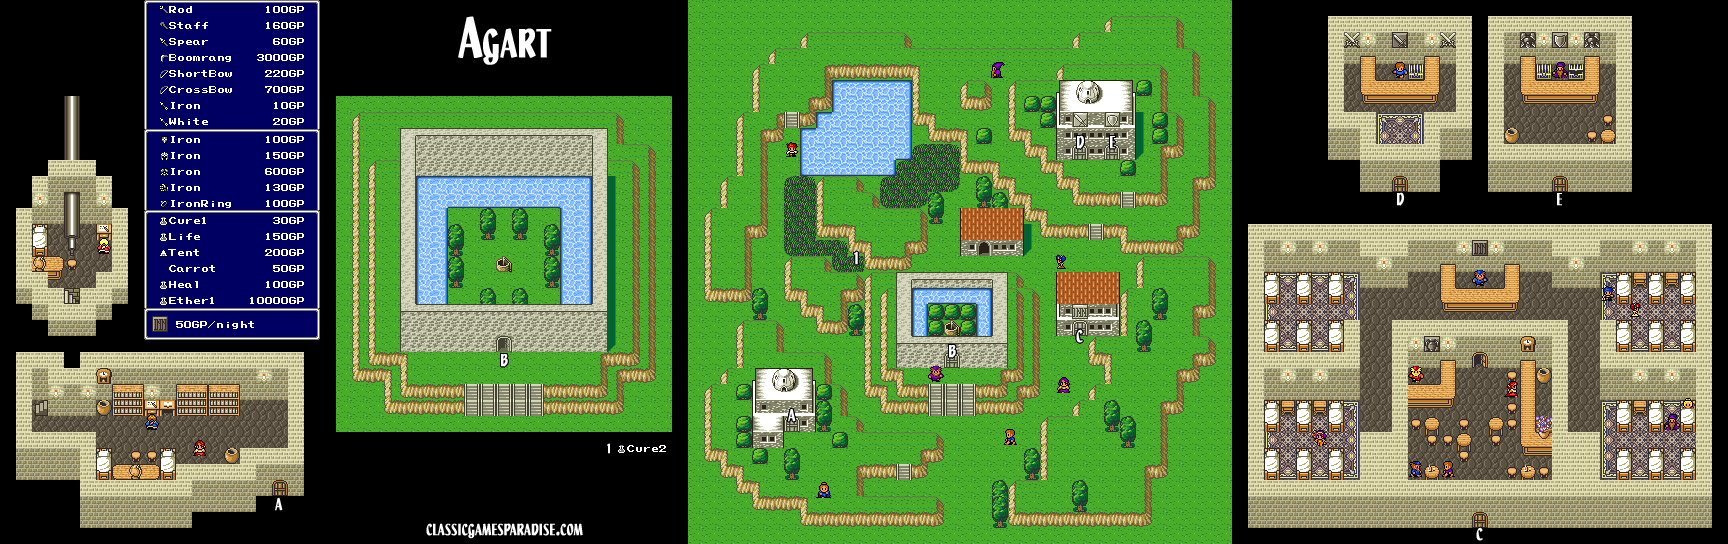
Back at Baron, Kain reveals that the Golbez doesn't actually have all of the crystals yet. The Dark Crystals are still hidden beneath the earth, and he gives you the Magma key to reach them. With this key in hand, travel to Agart and throw it down the well in the center of town. This will open up a hole in the mountains that you can descend into with the airship.
In the world below, you will find the Red Wings locked in a battle with an unknown opponent. Unfortunately, the Enterprise is caught in their exchange and makes a crash landing next to the Castle of the Dwarves. Visit the King, Giott, and Cid will depart to upgrade the airship to make it fireproof. Before you can leave, you detect someone eavesdropping on you and investigating the crystal chamber begins a fight with the Calbrena dolls.
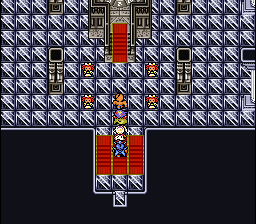
When all dolls of one type are destroyed, the remaining dolls will transform into a much more dangerous form. By alternating between them and leaving one Brena for last, you may prevent it from ever merging. Use Yang's kick ability a couple of times to take a chunk out of their HP. In addition to inflicting status ailments, the Calbrena can hit very hard, so keep Rosa on heals and have Cecil assist if needed. Make sure Cecil has high HP before the battle ends.
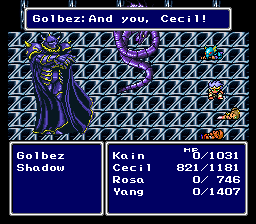
Golbez launches a surprise attack but Rydia shows up and saves you at the last moment. Immediately revive everyone with Life potions use Cecil and Rosa to keep everyone alive with Cure2. Keep hammering away with Yang and Kain and along with Rydia's summons, Golbez won't last long.
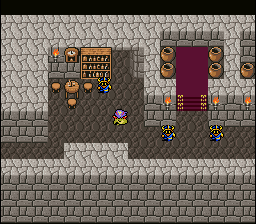

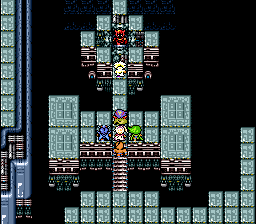
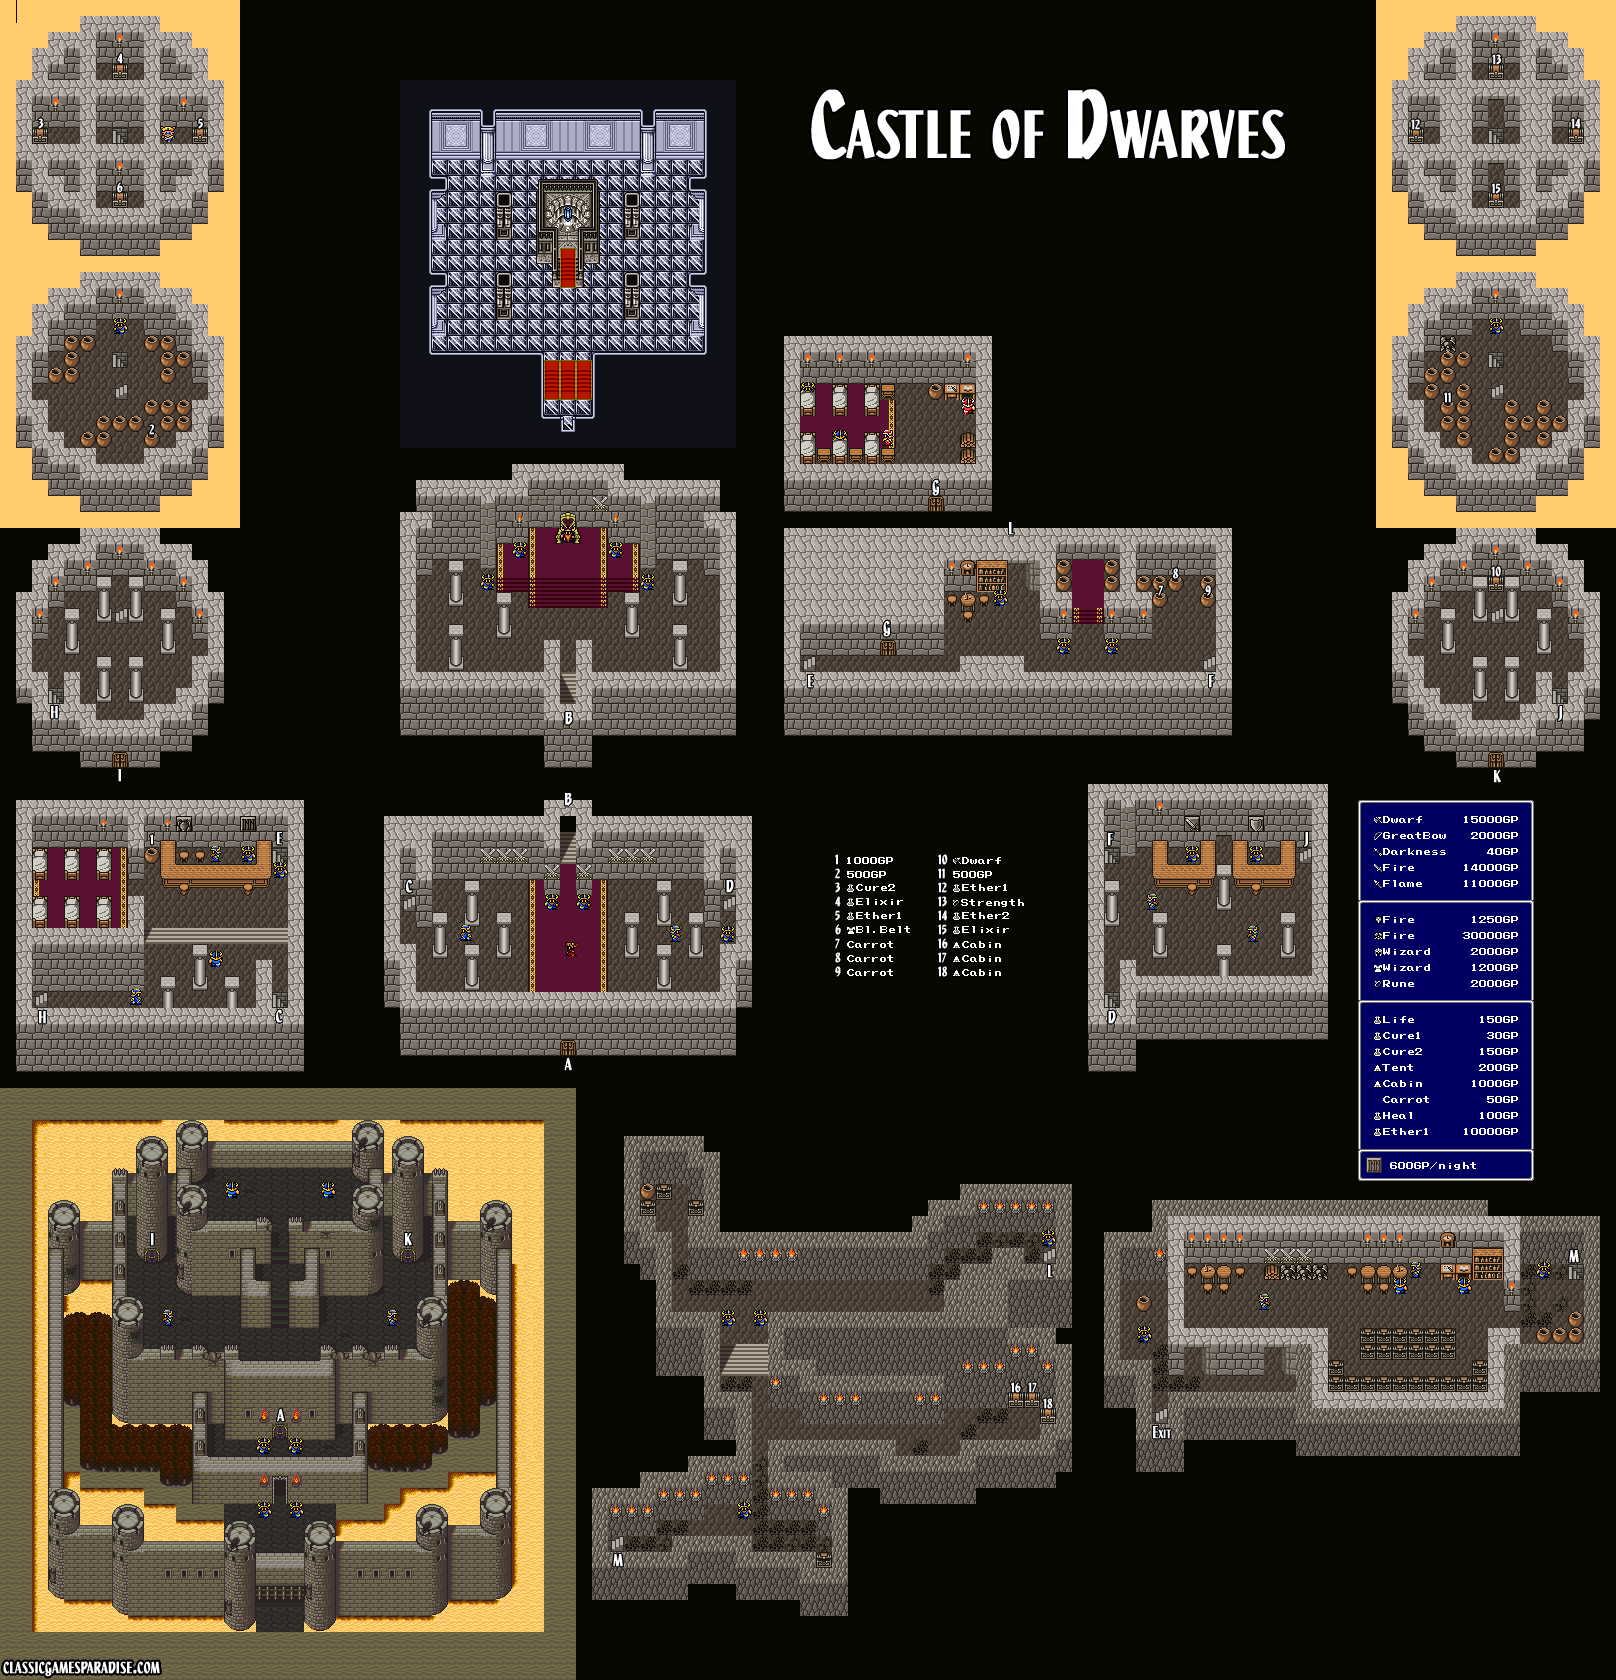
Your next destination is the Tower of Bab-il. The dwarves will allow you to use their secret passage next to the bookshelf to reach it. Before leaving, be sure to upgrade your equipment at the dwarven stores. You can also summon a Big Chocobo with carrots, and it will store any extra items for you. Near the exit on the other side of the dwarven tunnel, you can find a special Pot of Life. This can be helpful if you want to heal without needing to travel through the entire castle again.
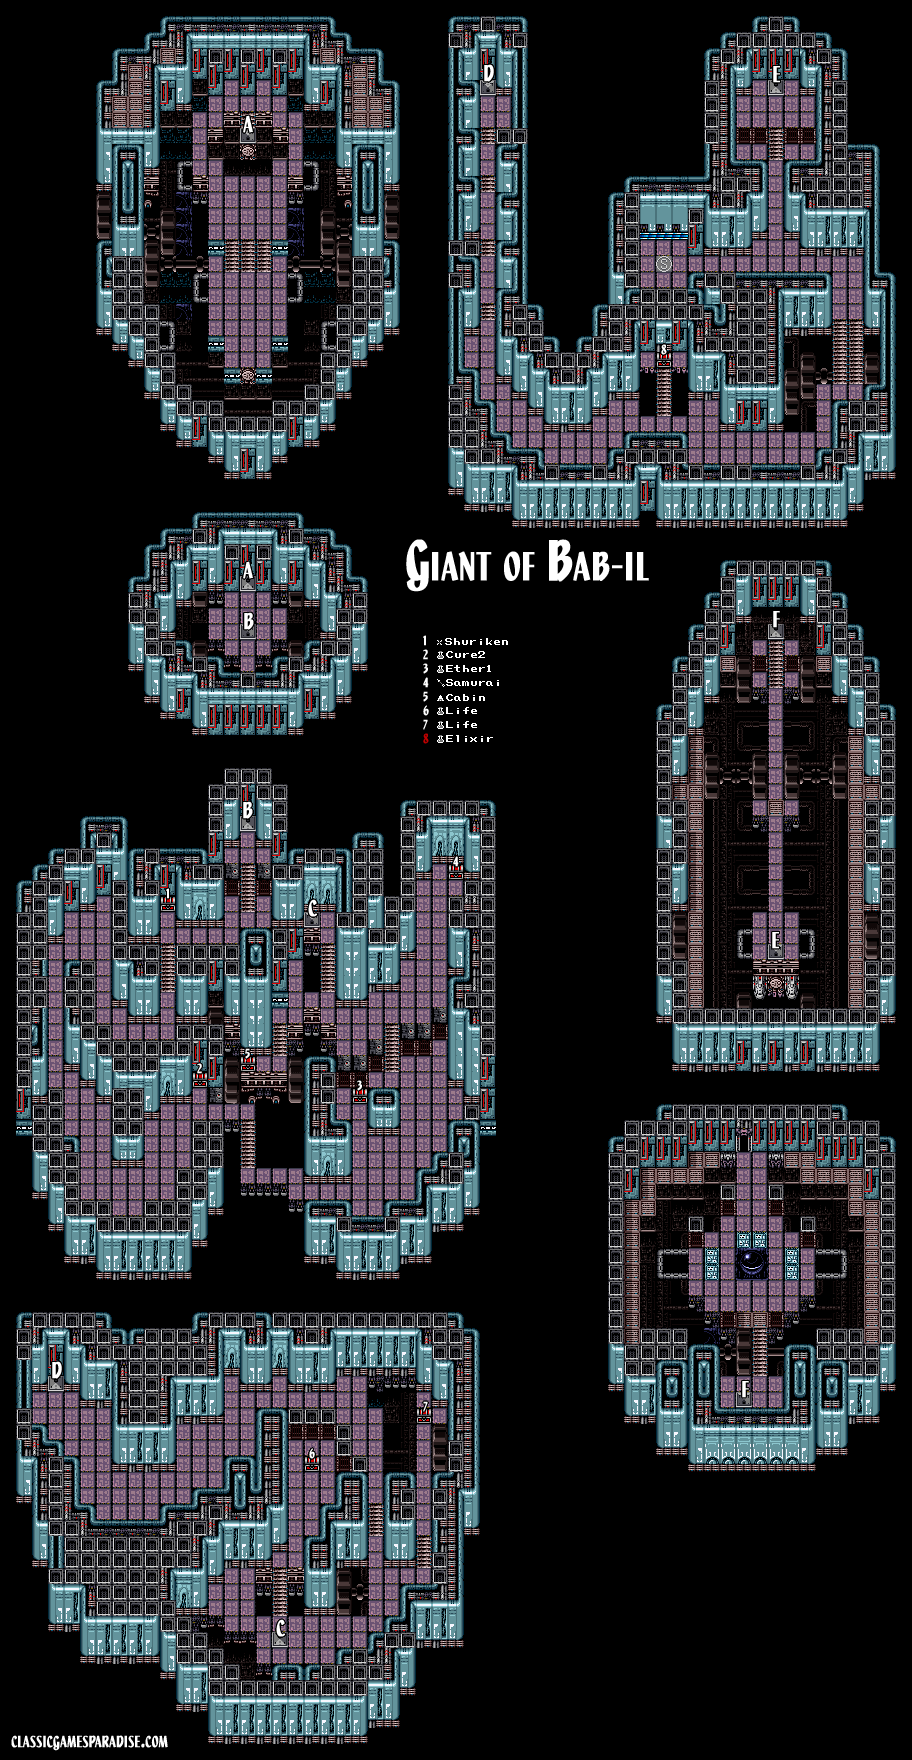
Tower of Bab-il (Below) |map|
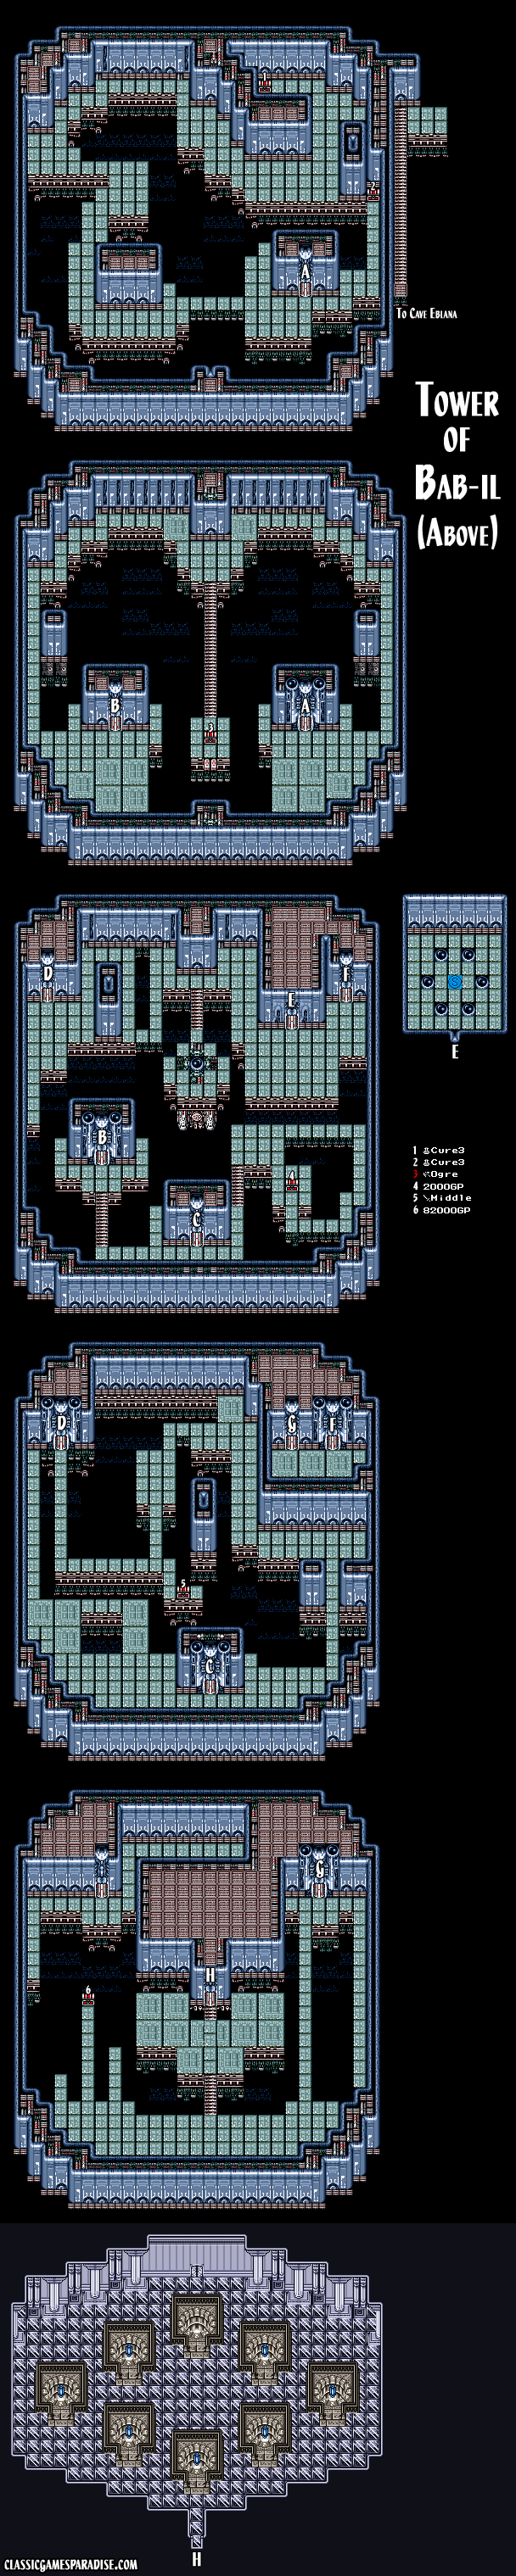
Far to the north, you will find the Tower of Bab-il where the dwarves are locked in a battle with the tower's cannons. Make your way up while taking the occasional detour to collect powerful equipment from chests along the way. At the very top, you will find the mad scientist Dr. Lugae marveling over his latest creation.
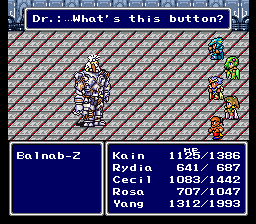
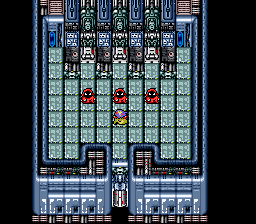
This battle unfolds in several phases. The Balnab doesn't exactly work as intended so take this opportunity to have Rosa cast beneficial magic on your party. Eventually, Dr. Lugae will pilot the Balnab directly, making his attacks much more effective. When the Balnab is low health, he will use Explode to take a member of your party down with him. After this, Dr. Lugae will take his final form and the real fight begins. His sleeping and poison gas attacks can quickly put your entire party in peril. Cecil can help Rosa keep everyone healed until the poison is gone. Lugae's beam attack will deal a lot of damage to a single character while Flamethrower can lightly damage multiple characters. Strangely, he also occasionally casts Heal on your entire party, removing the effects of his own gas attacks. Rydia's summons won't trigger his Sleeping Gas counter attacks so make sure she is keeping the pressure on every round.
Return to floor 5 and use the Tower Key on the locked door to reach the Super Cannon. The imps operating it are no challenge but they sabotage the controls after their defeat. Yang remains behind in the control room to disable the tower's weapons once and for all. As you try to leave the tower, Cid will show up in the modified Enterprise, which will bring you back to the world above.
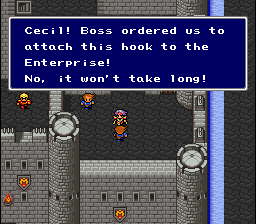
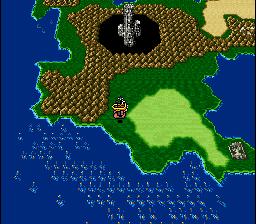
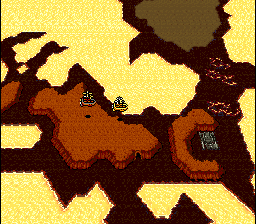
Return to Baron Castle and you will find two workers dressed in blue near the right tower. They will modify the airship so it will be able to carry the hovercraft. Fly over to Mt. Hobbs where you likely left it, and pick it up with the [A] button. Far to the southwest corner of the world lies the upper half of the Tower of Bab-il, along with Eblin Castle and the Cave of Eblana. Before entering the cave, you may want to loot the ruined castle, if you haven't done so already.
Ride the hovercraft over the shallows to reach Cave Eblana. Hidden passages will conceal the way to treasure chests. You will eventually stumble upon the survivors from Eblan, who will tell you the prince is digging to the Tower of Bab-il to rescue the King and Queen. This makeshift town will also allow you to buy new equipment and rest up. Following the tunnel to its end, you will find prince Edge battling Rubicant. After the quick display of Rubicant's power, Edge will join you as you enter the Tower of Bab-il once again.


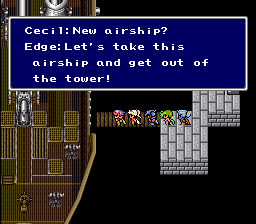
Edge will get you through the wall, to the highest floor of the tower. Make your way down and you will eventually find Edge's parents, who have been transformed into monsters. Shortly into the battle, the King and Queen are able to regain their composure. They assure Edge that he is ready to become the ruler of Eblan, before they drift away. Make sure you collect the royal treasury from the chest to the left before leaving. Continue on to the crystal room, where a pitfall will deposit you to a familiar floor below. Eventually you will find a new airship called the Falcon, which will finally take you out of the tower.
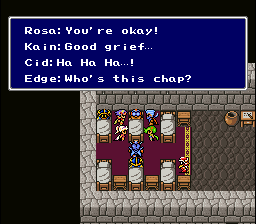
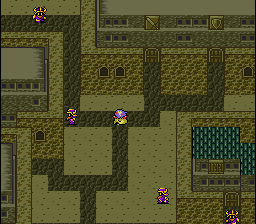
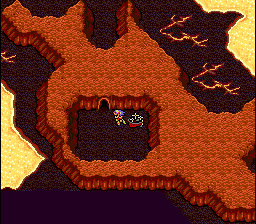
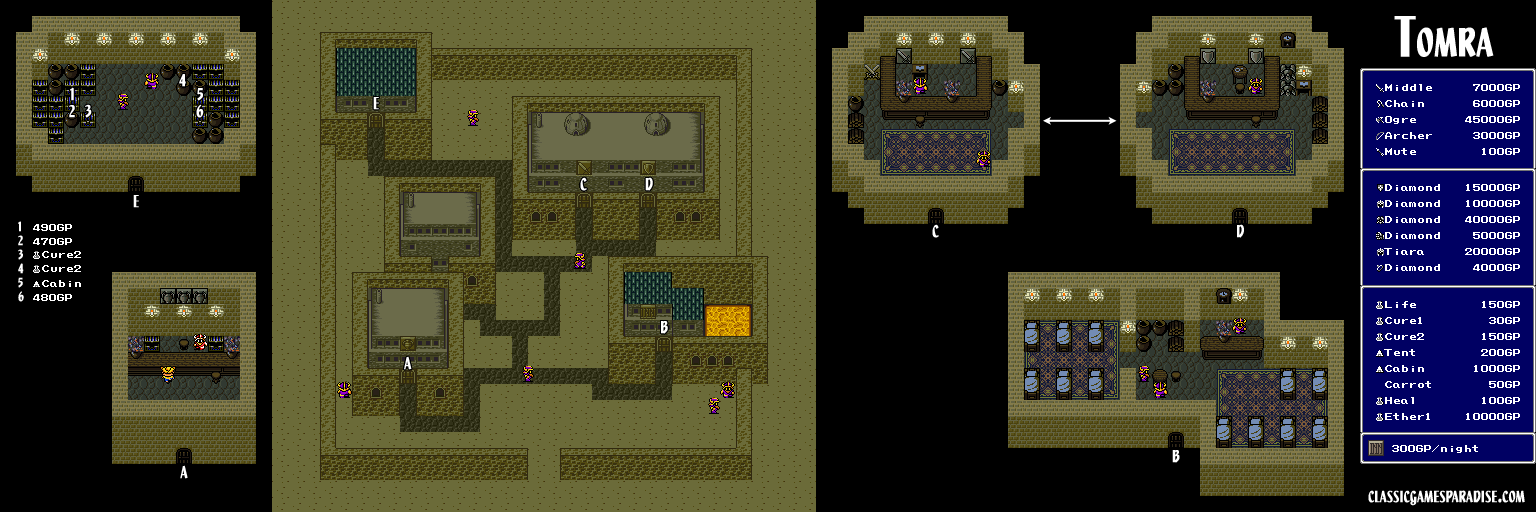
Back at the Castle of Dwarves, talk to King Giott to receive Luca's necklace, which serves as the key to the Sealed Gate. Visit the infirmary (near the secret tunnel) to find Cid. With the help of his shanghai'd assistants, he quickly makes your new airship fireproof, allowing you to fly over the magma. The town of Tomra is to the southwest and has some great armor upgrades for your party. Be sure to stock up on Life potions, because they will really come in handy soon. When you are ready, go to the Sealed cave to the northwest.

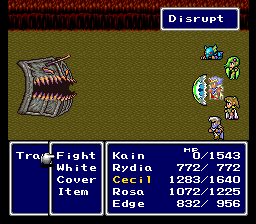
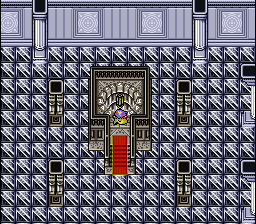
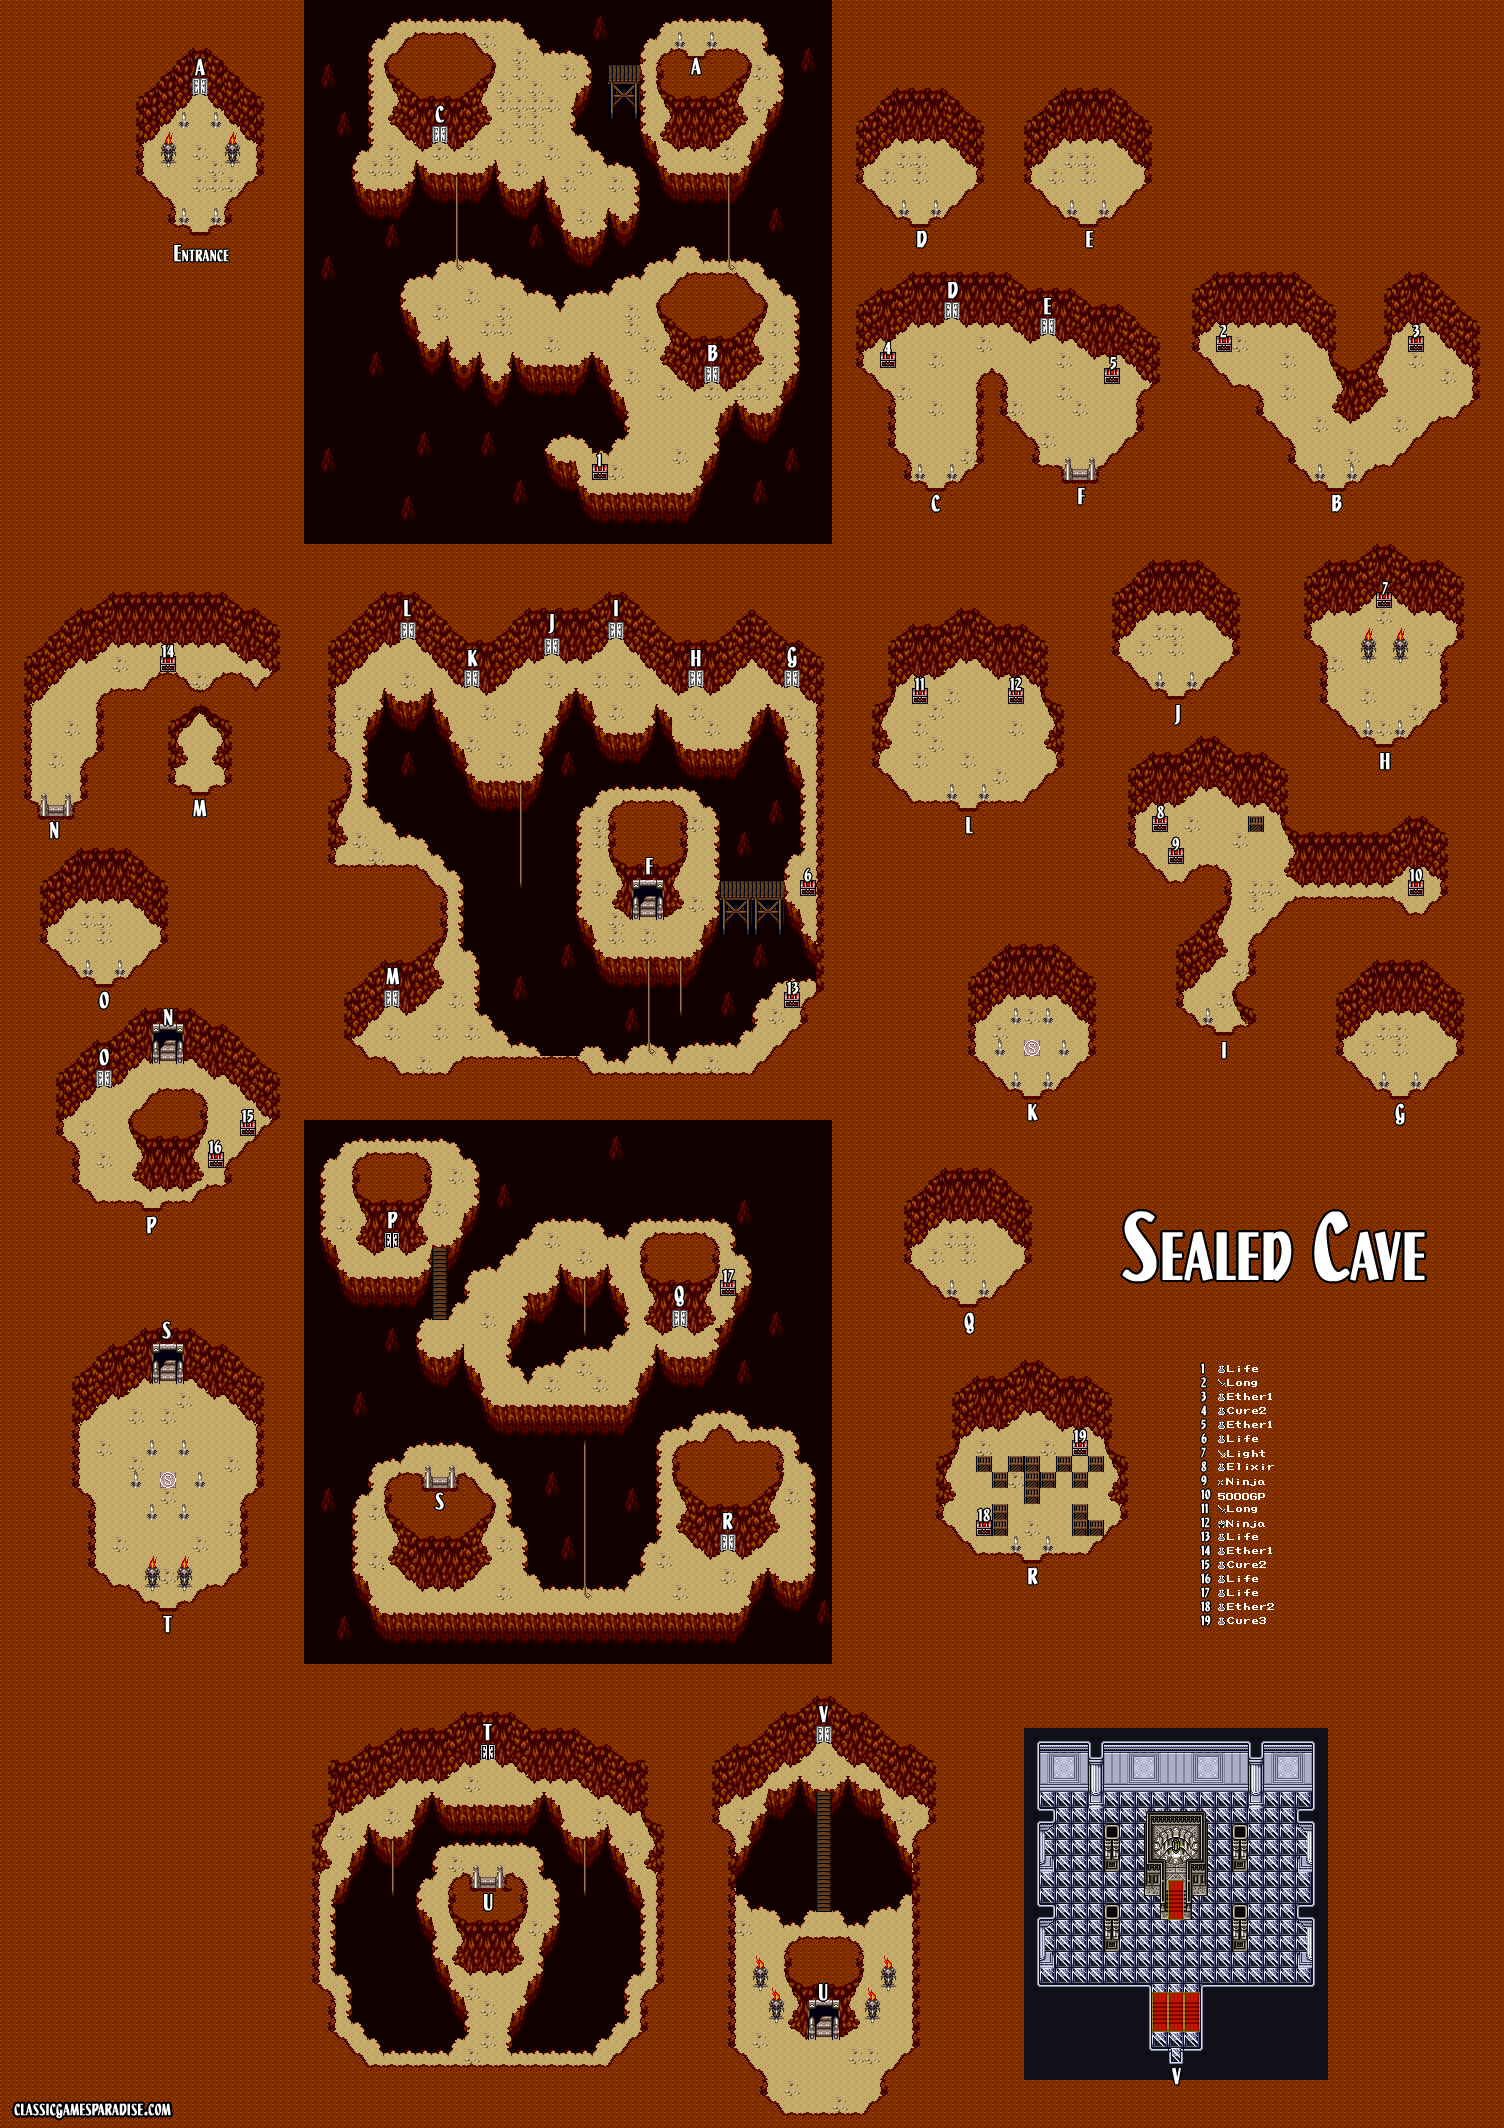
Use Luca's Necklace to open the door. Inside, you will find most passages are locked with stone doors. These are actually TrapDoors, a very dangerous enemy that will use its Search ability to lock on to a character and then use Disrupt on its next turn to instantly kill them. If you don't manage to kill the TrapDoor fast enough, it will summon another powerful enemy in its place that you will have to defeat instead. A simple strategy here is to have Rosa cast Wall on whichever character is targeted with Search, and watch the TrapDoor kill itself with Disrupt instead. Not every sealed room contains treasure, but each TrapDoor is a great source of exp for your party.
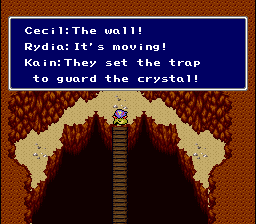
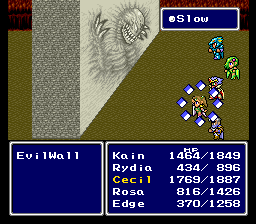

At the bottom of the cave, you will find the Dark Crystal. When you leave the chamber, a nasty trap will be sprung. The EvilWall will slowly advance towards your party, using basic attacks and its petrify ability. When it finally reaches you, it will use Crush every round to instantly kill a single character. You can slow its advance by having Rosa cast Slow, while Rydia casts Virus with the other 3 using physical attacks. If it reaches you and starts using Crush, you can use Life potions to keep your entire party alive while continuing to damage it whenever possible.
Before you can exit the cave, Golbez takes control of Kain once again and uses him to take the Dark Crystal. With this last crystal in hand, he is finally able to re-activate the Tower of Bab-il and open a path to the moon.
Return to King Giott in the Castle of Dwarves and after a short discussion about their local legend, traveling Mysidia will be your next goal. Cid springs into action and outfits your airship with a drill, allowing you to enter the world above once again. Before you do that, it's time to take a few detours while still in the Underworld.
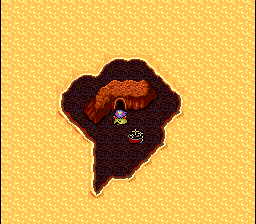
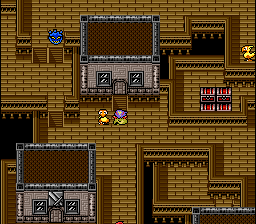
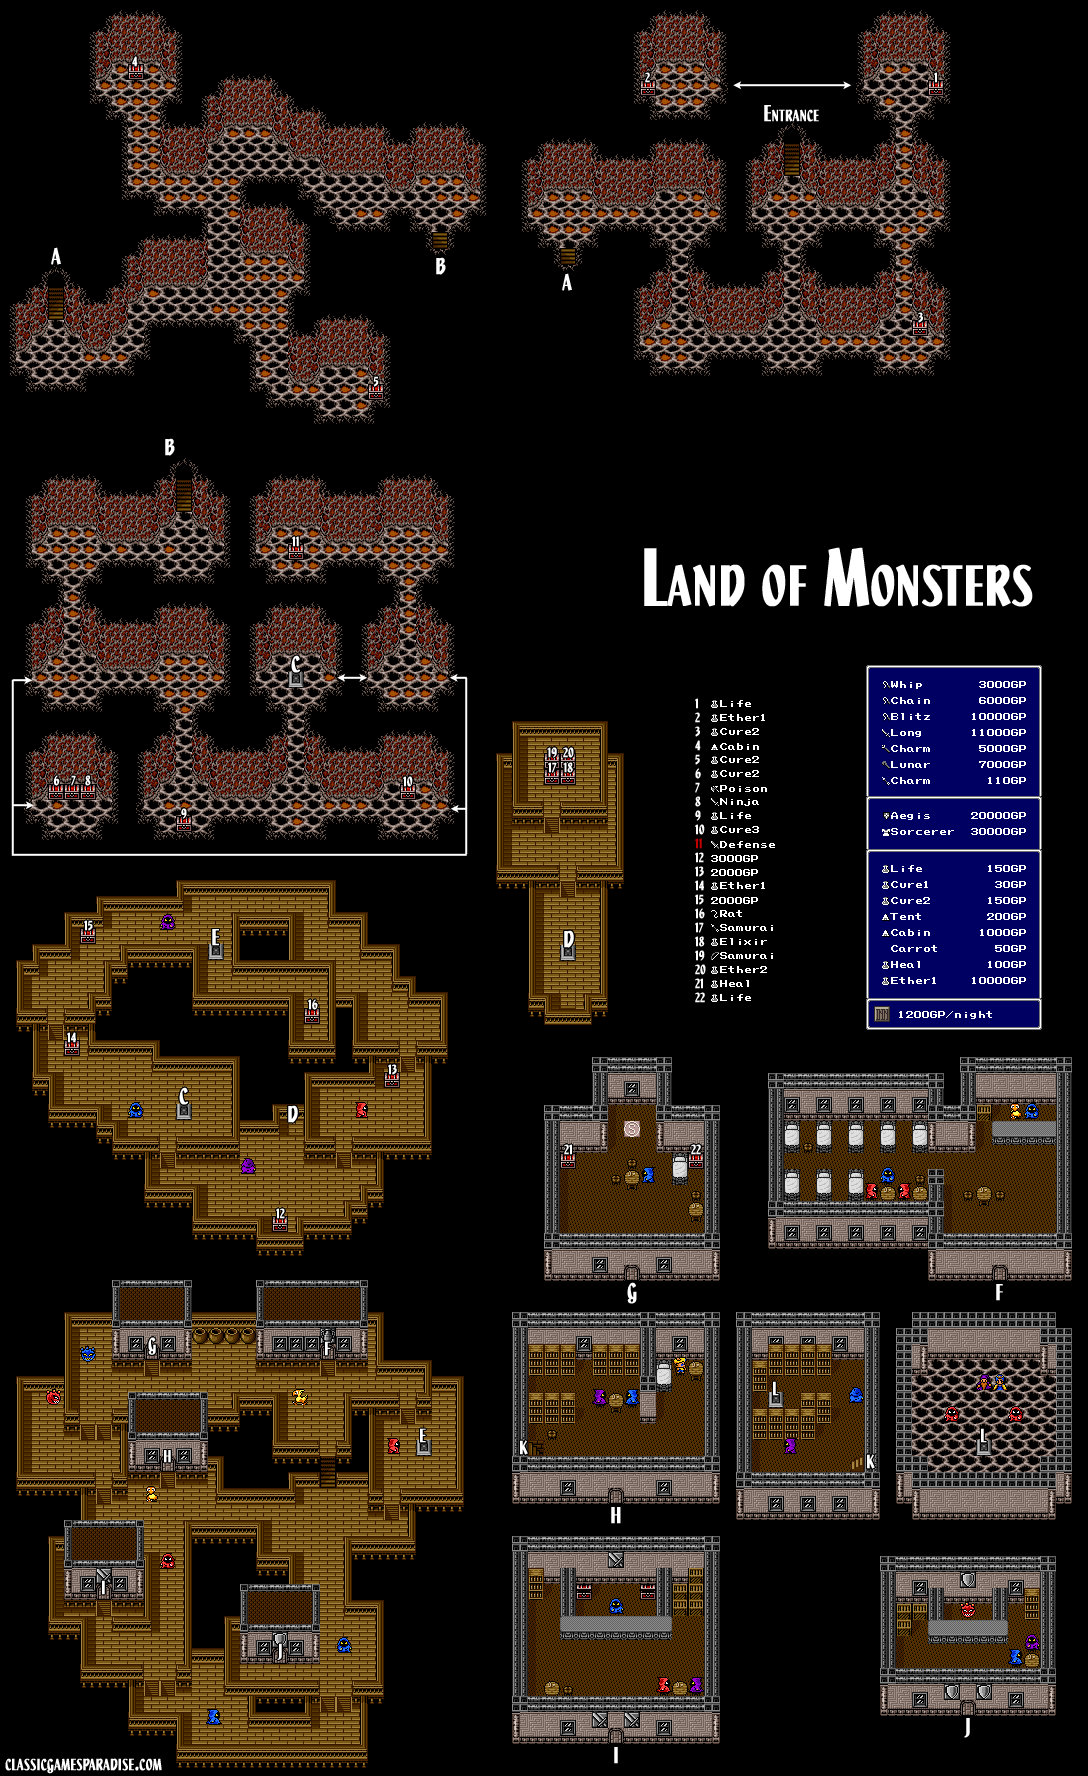
The Land of Monsters lies on an island to the northwest of Tomra. The floor in this dangerous cave will damage your entire party with every step, so have Rosa cast Float on everyone. This spell also has the added benefit of nullifying the powerful Quake spell that Arachnes will use. At the lowest level, you will find the town that Rydia was living in. On the upper deck, you will find a chest with the Rat Tail inside. In the Town of Monsters, you can buy new equipment and visit the Library. On the lowest floor of the Library, you will find Queen Asura, who will challenge you to a fight. Defeating her and then the King Leviathan after, will unlock a pair of powerful summons for Rydia. These two optional bosses are very challenging, so don't be afraid to come back later when your party is higher level and has better equipment.

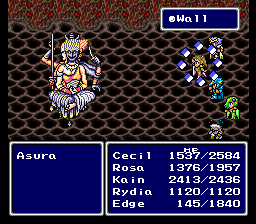
Throughout this battle, Asura will constantly cast Cure3 and Cure4 on herself. To counter this, cast Wall on her so your party will be healed instead. Cecil, Kain and Edge can keep attacking while Rydia's Call magic can simply bypass the Wall on Asura. It's important that Wall remains active so Rosa should re-cast it every few rounds. Asura will counter-attack every time she is damaged, so simply hold back a bit if you need to restore any HP.
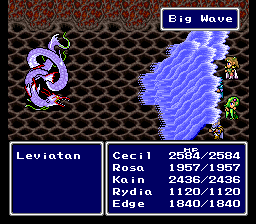
Leviathan will use Big Wave to damage your entire party and occasionally use Ice magic to damage single characters. Cecil and Kain can attack as normal and since Leviathan is weak to lightning, Edge can use Blitz while Rydia can cast Lit-3. With multi-target Cure3 or even Cure4, Rosa should have no trouble keeping everyone alive.
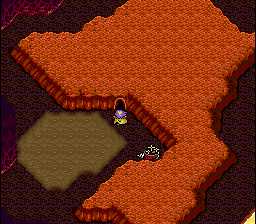
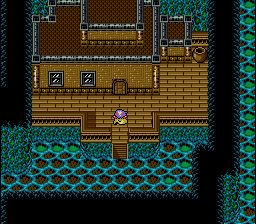

Far in the northwest corner of the Underworld is the Sylvan Cave. Just like back in the Land of Monsters, have Rosa cast Float to safely step over the pools of acid on the floor. The lowest level has a one-way path leading to some of the most powerful items in the cave. Take the path marked [G] if you want to collect them before taking the main route. Many are within trapped chests but Rydia should be able to clear the monsters in a single summon.
On the lowest level, you will find a house filled with fairies. Inside you will also find Yang, who seems to have survived the ordeal at the Tower of Bab-il. You can't wake him yet, so leave the Sylvan cave through the one-way exit on the second floor of the house.
In the southeast corner of the Underworld, you will find Kokkol, the legendary smith. Unfortunately, he has lost all motivation to continue working, as he hasn't been able to get his hands on any Adamant ore.
With everything taken care of, it's now time to return to the world above. Take the Falcon airship to the northeast corner of the Underworld and ascend on the cave-in to drill back up through the mountain. Before visiting the elder in Mysidia, there are many other things to take care of.
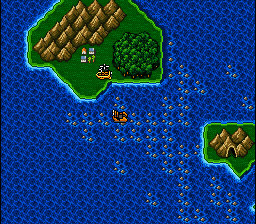
First stop, return to the Enterprise and use it to pick up the Hovercraft. Drop it off at Silvera and then ride it over the shallows to reach Grotto Adamant. Give the Rat Tail to the strange little man inside and he will give you the Adamant ore in return. Use the Falcon to return to the Underworld and bring the Adamant to Kokkol. He will take Legend from you, promising to forge it into a powerful new sword.
Next, head to Fabul and talk to Yang's wife in the left tower and she will give you the Frying Pan. Return to the Sylvan Cave and use the pan on Yang to wake him up. He still needs to stay behind to rest up but Rydia will learn the Sylph summon. Return the pan to Yang's wife and she will give you the Spoon. This seemingly ridiculous item can actually dish out 9,999 damage when thrown by Edge, so save it for later.
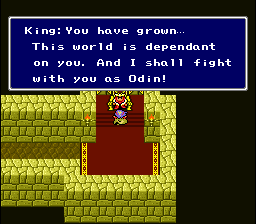
Back at Baron Castle, the mysterious force holding you back in the basement of the right tower is now gone. You will find the vision of King Baron who will give Rydia the powerful Odin summon if you can defeat him. This very challenging boss battle will be over very quickly, one way or an other. You will need to take out his 20,500 HP before he raises his sword. Once he does, Odin will wipe out your entire party the next round. Don't bother with healing; just use your strongest attacks with Rydia casting level 3 magic and Rosa casting White. If you can't take him down fast enough, it's just a matter of not having a high enough level.
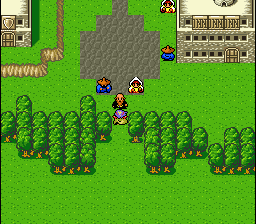
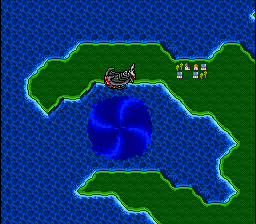
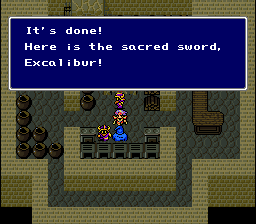
At Mysidia, the Elder will take you to the House of Wishes where they will summon the legend of the great "whale" from the moon. As it turns out, it is actually an ancient buried spaceship. By touching with the crystal within, it will activate and take you to the Lunar Surface. This spaceship can also be flown like a normal airship by using the control panel up top. You will also find beds that let you rest, and also a Big Chocobo to store extra items. Before actually going to the moon, you can take the Falcon back to the Underworld and visit Kokkol to receive the finished Excalbur sword for Cecil.
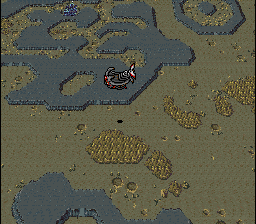
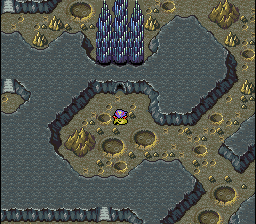
The Lunar Surface is much smaller compared to the world you are used to, but many paths are blocked off and must be navigated through cave passages. You can only land on flat non-cratered land. The blue palace is your true destination but before that, you can visit the strange cave below it surrounded by mountains. Inside, you will find a bunch of Humingways. One will sell you extremely rare items including Ether1, Ether2 and even Elixirs. Since you likely already have the strongest equipment that gold can buy, this is a good way to spend your money from here on.
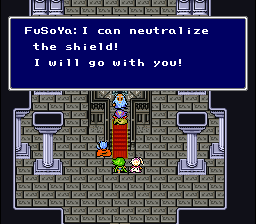
Land the ship near one of the paths leading up the mountain plateau and travel northwest to find the first Lunar Path. This short passage leads back outside, where you can travel southeast to find the second Lunar Path. Finally, you will arrive at a cave leading to Lunar's Lair. Within, the guardian FuSoYa will reveal the truth about the moon and Cecil's connection between it and the Blue Planet. He then joins you, promising to break the seal on the Tower of Bab-il. Before departing, the tiles to the sides can heal you.

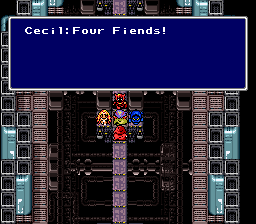
Back on the Blue Planet, you are only moments too late as the Giant of Bab-il has been activated. Your old friends join in the fight from land and air and will help drop you right on to the giant's head. The path inside is mostly linear and will lead you straight to a final showdown with Golbez's four henchman. Rubicant will heal you before the battle, but you will have to beat all of them without being able to recover in between. You may also want to set your battle speed to the slowest possible option because every second counts here.
Being undead, Milon is weak to holy spells like White and Cure. He also retains his massive weakness to fire magic. Rubicant will deal fire damage to your entire party but is much easier to defeat due to his vulnerability to ice magic. Just a few strikes from Ice3 should take him down. Kainazzo retains his vulnerability to lightning so have Rydia and FuSoYa hit him with Lit3. If you are running low on MP, make sure to restore it before the next phase. Valvalis can use Storm to bring your entire party into low HP so have Rosa and FuSoYa cast Cure on everyone to make sure they don't get finished off in the next round. Otherwise, you will need to spam Life potions while attacking whenever possible. She is still weak to lightning magic so a few casts of Lit3 can make this final phase much easier.
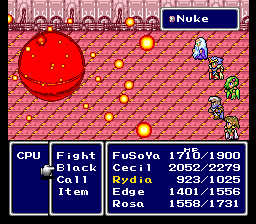
Ahead lies the Giant of Babi-il's core where the CPU can be found. CPU is joined by its components Attacker (top) and Defender (bottom). As their name implies, one will attack you while the other will heal CPU. Destroying both will prompt CPU to use its Globe199 attack which will easily kill two of your party members. CPU will also cast Wall on itself, meaning you will need to do the same to one of your party members to safely bounce magic back at your enemies. Otherwise, Rydia's call summons can still safely go through CPU's Wall, and take both of his pals down in the process. When CPU is alone, use the opportunity to bounce high level black magic like Nuke off of your Walled party member.
After the fight, another FuSoYa will have another revelation about Golbez's relationship with Cecil. FuSoYa will depart to finish off the Giant of Bab-il and Kain will join you once again. With your party restored, you're back to the Moon.
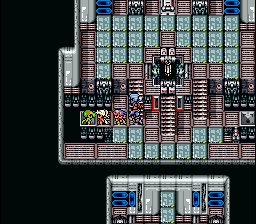


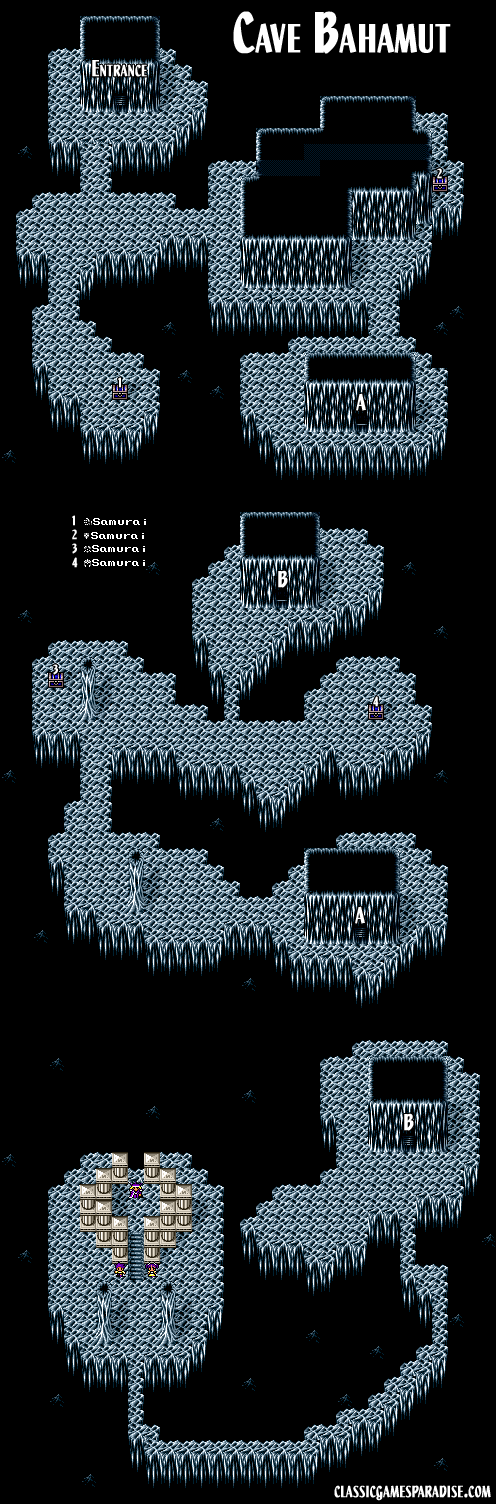
You may have explored the Cave of Bahamut before in the circular mountain to the east, but with the Giant of Bab-il gone, there's more you can do. Be sure to collect the 4 pieces of the Samurai gear for Edge and Cecil. There are three points where you will have to fight powerful Behemoth monsters. They have very strong defense against magic and will counter-attack every time they are damaged. After defeating the third one, it may be a good idea to rest up back outside before continuing. You will eventually find the sage Bahamut. If you have already defeated Leviathan back in the Land of Summoned Monsters, he will challenge you as well.
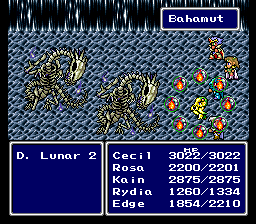
Bahamut's only attack is counting down from 5 before he will use MegaNuke to wipe out your entire party. Cecil, Kain and Edge should keep attacking while Rydia uses Nuke or level 3 Black Magic. Rosa should cast Wall on as many people as possible so that when MegaNuke is used, those characters will survive. Humorously, MegaNuke can also be reflected in this way to cause massive damage to Bahamut. Also, Kain can use his Jump ability when the countdown reaches 1 to completely avoid the devastating attack.
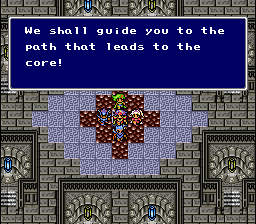

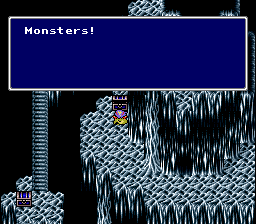
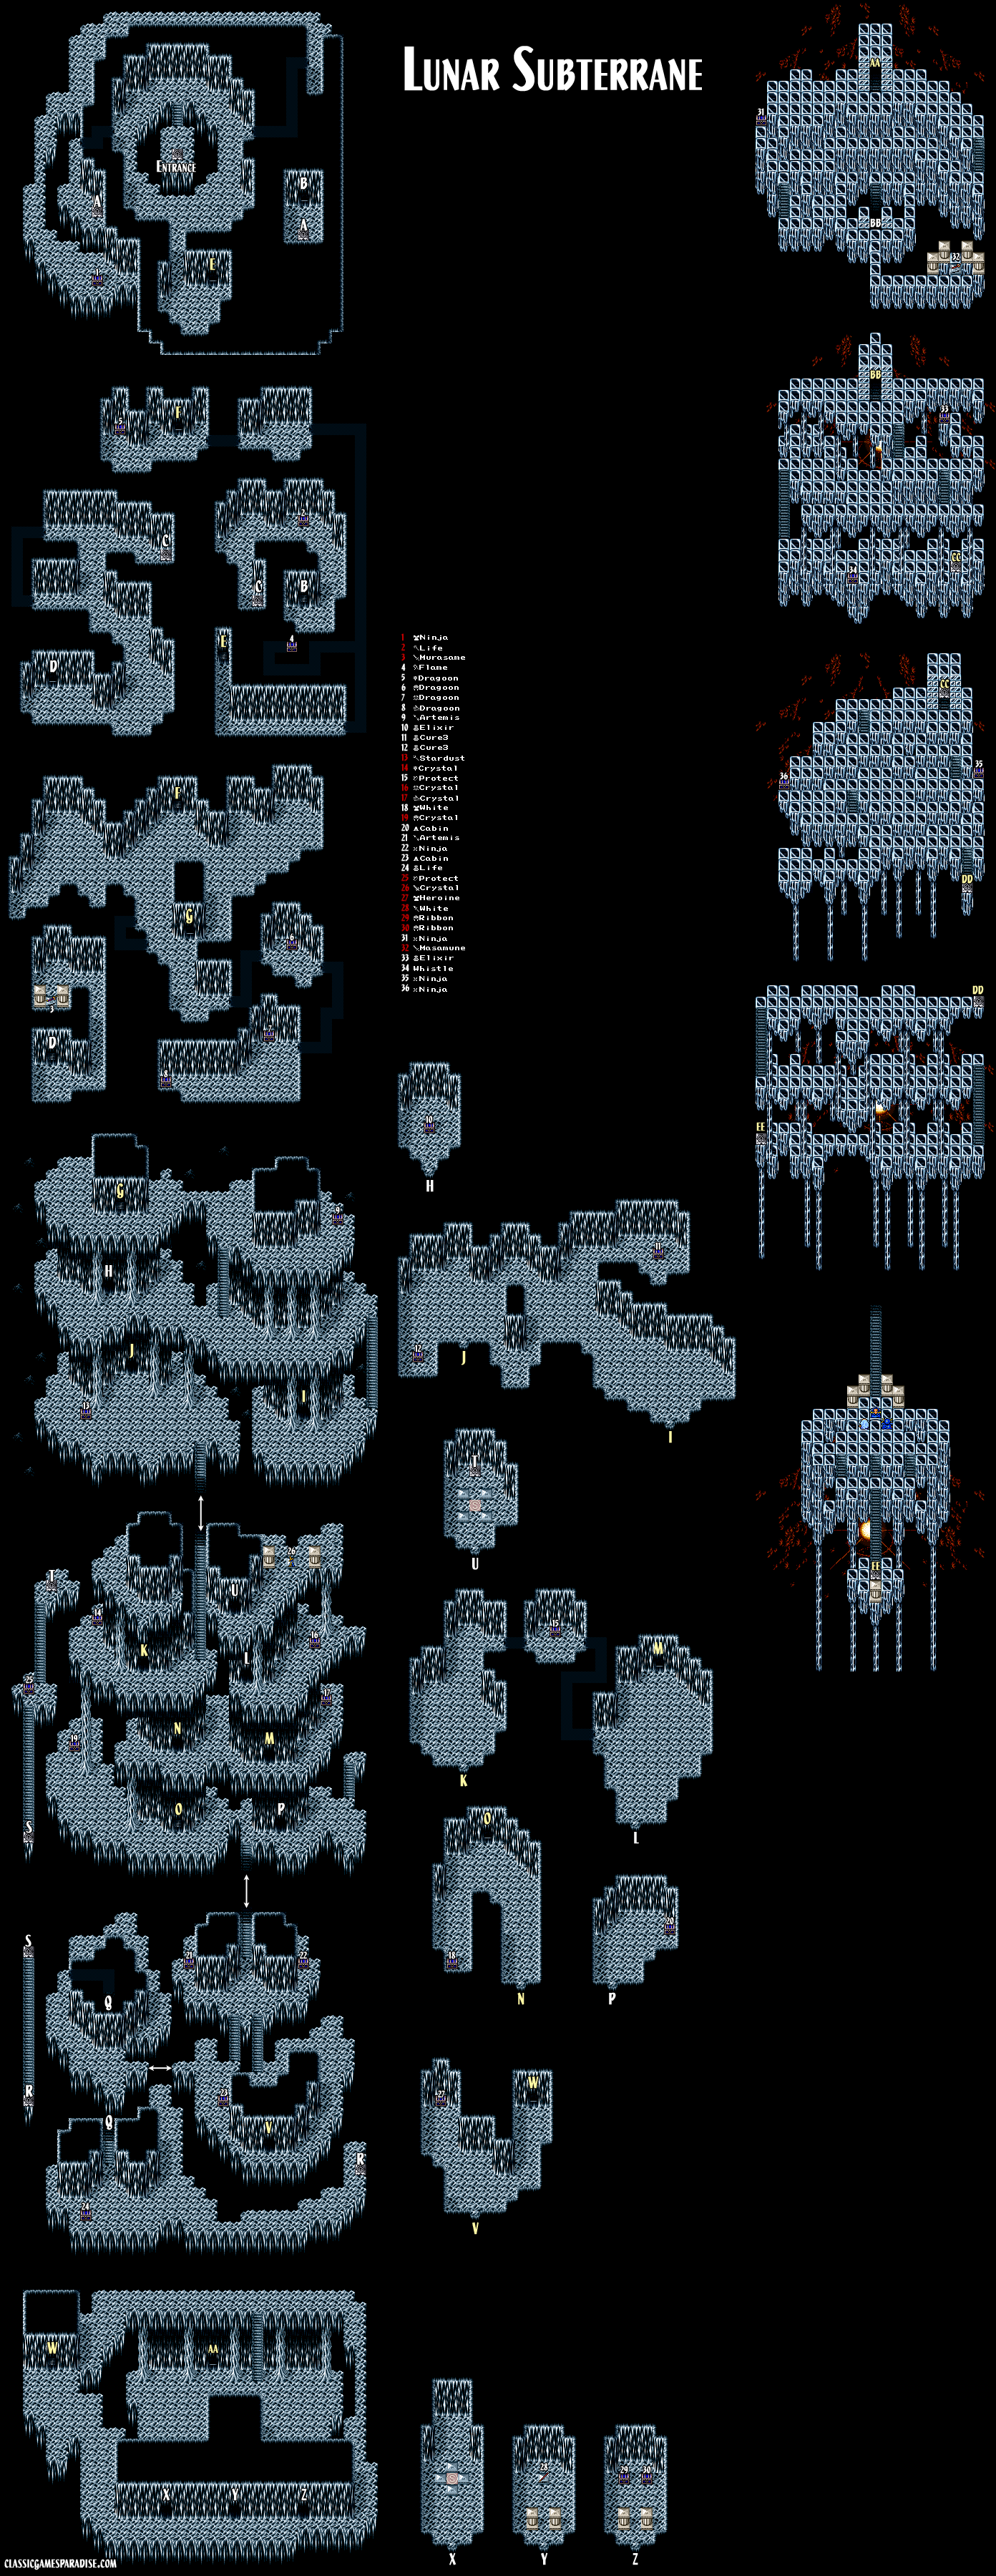
Returning to Lunar's Lair, the crystal chamber inside will take you to the Lunar Subterrane, leading to the moon's core. The Lunar Subterrane is a confusing labyrinth of hidden passages leading to the most powerful items in the game. If you want to collect everything here, use the map to follow the passage letters in alphabetical order. If you are looking for the shortest possible route to the core, only follow the letters marked in gold. Many chests are trapped with monsters and all artifacts you find will be guarded by boss fights. Don't be afraid to return to heal at Lunar's Lair after clearing a route; finishing this dungeon will be challenging to do in one single pass.
The first optional boss is Pale Dim, who guards the Murasame sword. Since he sometimes uses Quake, you can counter this by casting Float on the party before even starting the battle. Because he will absorb all elemental damage, Rydia should stick to non-elemental magic, or just using items to keep everyone restored. When damaged, he will counter-attack by inflicting Slow on a random character. This also resets his turn order; so by staggering your own attacks, you can reduce how frequently he is able to damage you.

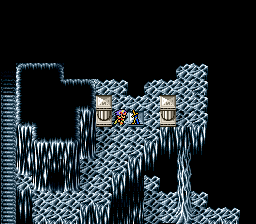

On floor B6, you can find an invisible bridge that will lead you west over a small chasm that will lead you to your next artifact — the Crystal Sword, guarded by the Wyvern. Like Bahamut, he can use MegaNuke, though it is a less powerful version. He will also cast Wall on himself to bounce Nuke back at your party. Like usual, Cecil and Kain can attack and Edge can join in or dart Shuriken. Since Wyvern counters Call damage with MegaNuke, Rydia can summon Asura or use items to help Rosa keep everyone alive, or use Quake to bypass Wall.
While you explore the Lunar Subterrane, you may come across a strange enemy called PinkPuff. This elusive enemy has a 1/64 chance of appearing and upon being defeated, it has a 1/64 chance of dropping the rarest item in the game: the Pink Tail. With this in hand, you can visit the Grotto Adamant and the tail collector there will exchange it for the Adamant Armor. This ridiculously powerful armor can be equipped on anyone and will make them nearly invincible to all attacks.
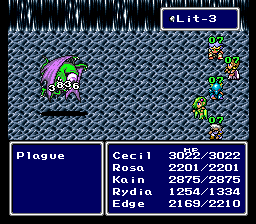
The next optional boss is Plague, who guards the White Lance. At the beginning of battle, he will inflict Count on your entire party, meaning you need to defeat him before time is up or it's game over. Just like with Odin, don't even bother with defense and use your most powerful attacks to do as much damage as fast as possible. One alternate strategy is to enter battle with a Swooned character (or simply kill one of them during the fight). By reviving them in battle, you will have someone left alive to bring everyone back with Life potions. Even further, you can have Rosa cast Wall on someone, so when Plague casts Count again, it will eventually kill him instead.
The next room contains two Ribbons, guarded by two D. Lunars. They will cast Wall on themselves and then use it to bounce Virus back against your party. Because they are undead, Holy infused weapons like Cecil's Crystal Sword and Kain's White Lance can deal an incredible amount of damage to them. Rydia's Call magic can simply bypass Wall.
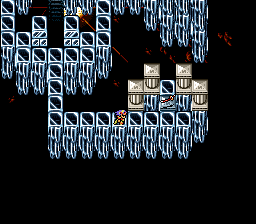
As you near the moon's core, the most powerful monsters await and even Behemoths can be encountered. You will also find the Masamune, guarded by the final optional boss. Ogopogo will open with two attacks of Big Wave. Each of these will do damage equal to about 1/4 of your maximum HP. Because he will continually use this attack during the battle, you may want to have Rosa cast Cure4 on your party every round. He will also use Weak to bring a character to critical HP, making them vulnerable to his next Big Wave or regular attack.





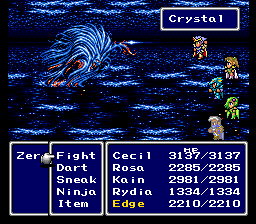
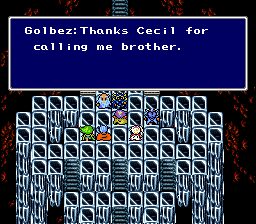
Finally reaching the moon's core, you will find FuSoYa and Golbez facing off against Zemus. Though they seem to get the upper hand with their twin Meteo attack, a final foe arises from Zemus's body. As all hope seems to be lost, your friends back on Earth reach out to you, restoring your party for the final battle.
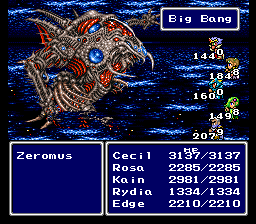
Zeromus is impervious to all attacks, so use the Crystal that Golbez gave you to reveal his final form. Wait until he rumbles once more and then unleash everything you have. This is the final battle so don't hold anything back. Cecil and Kain can keep attacking while Edge can finally dart the Spoon and any other weapons you have in your inventory. Rosa can use White and Cure4 when needed. Call magic will be countered with Bio so Rydia should only use Asura when extra healing is needed and stick to casting Black Magic instead.
Whenever you see him shake, he is about to unleash Big Bang, which deals massive damage to your entire party. He will also use Blk.Hole, which will remove magic effects from everyone. His Nuke and Meteo attacks can do stronger damage to individual characters, knocking them out even if they don't have low HP. With a healthy supply of Ether2 and Elixirs, Rosa and Rydia should have enough MP to carry everyone through to the end of this lengthy battle.
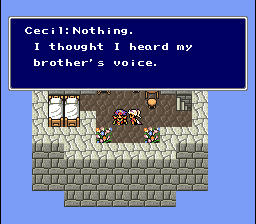
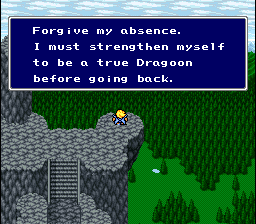
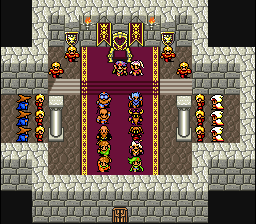
Some time has passed since Cecil and the others used the Ship of Light to return to earth. You will get to see what everyone has been up to since the battle to save the world, as they all travel to pay their respects to Cecil and Rosa at Baron Castle.
The End