









Final Fantasy III - Guide
World of Ruin
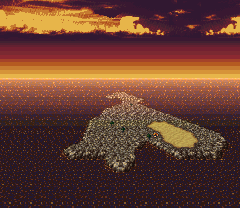
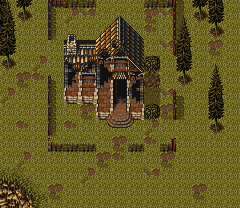
In the year following the cataclysm that tore the world's continents apart, Cid has watched over an unconscious Celes as he hopes to see signs of life on the horizon. As Celes awakens, Cid's energy finally gives out and now it's her turn to help care for him.
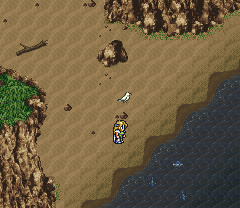
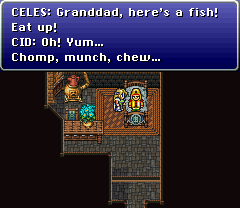
You can catch fish at the beach (south from the house) and feed them to Cid but there are some things to keep in mind before you begin. You can only catch fish by hand that wander within range of the shore. You will notice the fish move at 3 different speeds. The fastest ones rewards a Yummy Fish, which will restore Cid the most. The medium fish can either be 'Just a Fish,' which will restore him a little less or 'A Rotten Fish,' that will reduce his health very slightly. Always avoid the slowest ones, showing as simply 'Fish' in your inventory, as these will really lower his health. Every time you talk with Cid, the fish at the beach will be different. In addition, Cid's health will deteriorate every second, so you will need to move fast. The Sprint Shoes relic will come in handy here. You can catch multiple fish per trip but don't wait too long for a medium fish to wander near shore.
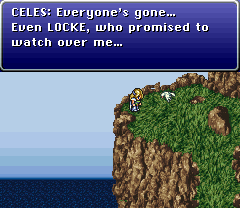
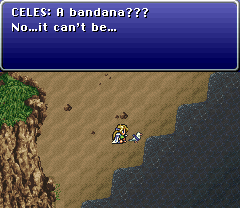
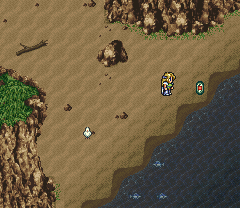
If Cid passes away, Celes will throw herself from the cliff in despair. She awakens washed up on the beach and sees a seagull with a bandana tied around its healed wound. Knowing that Locke has to be alive, she returns to the house and sees Cid's farewell letter to her.
If you manage to help Cid recover, he will thank you and tell you about the project that has kept him going all this time.
Either way, check the hidden stairs to the left of the stove and you will find a raft in the basement. With this, Celes drifts to the main continent, deposited to the southeast of a familiar yet changed town.
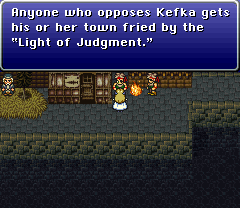
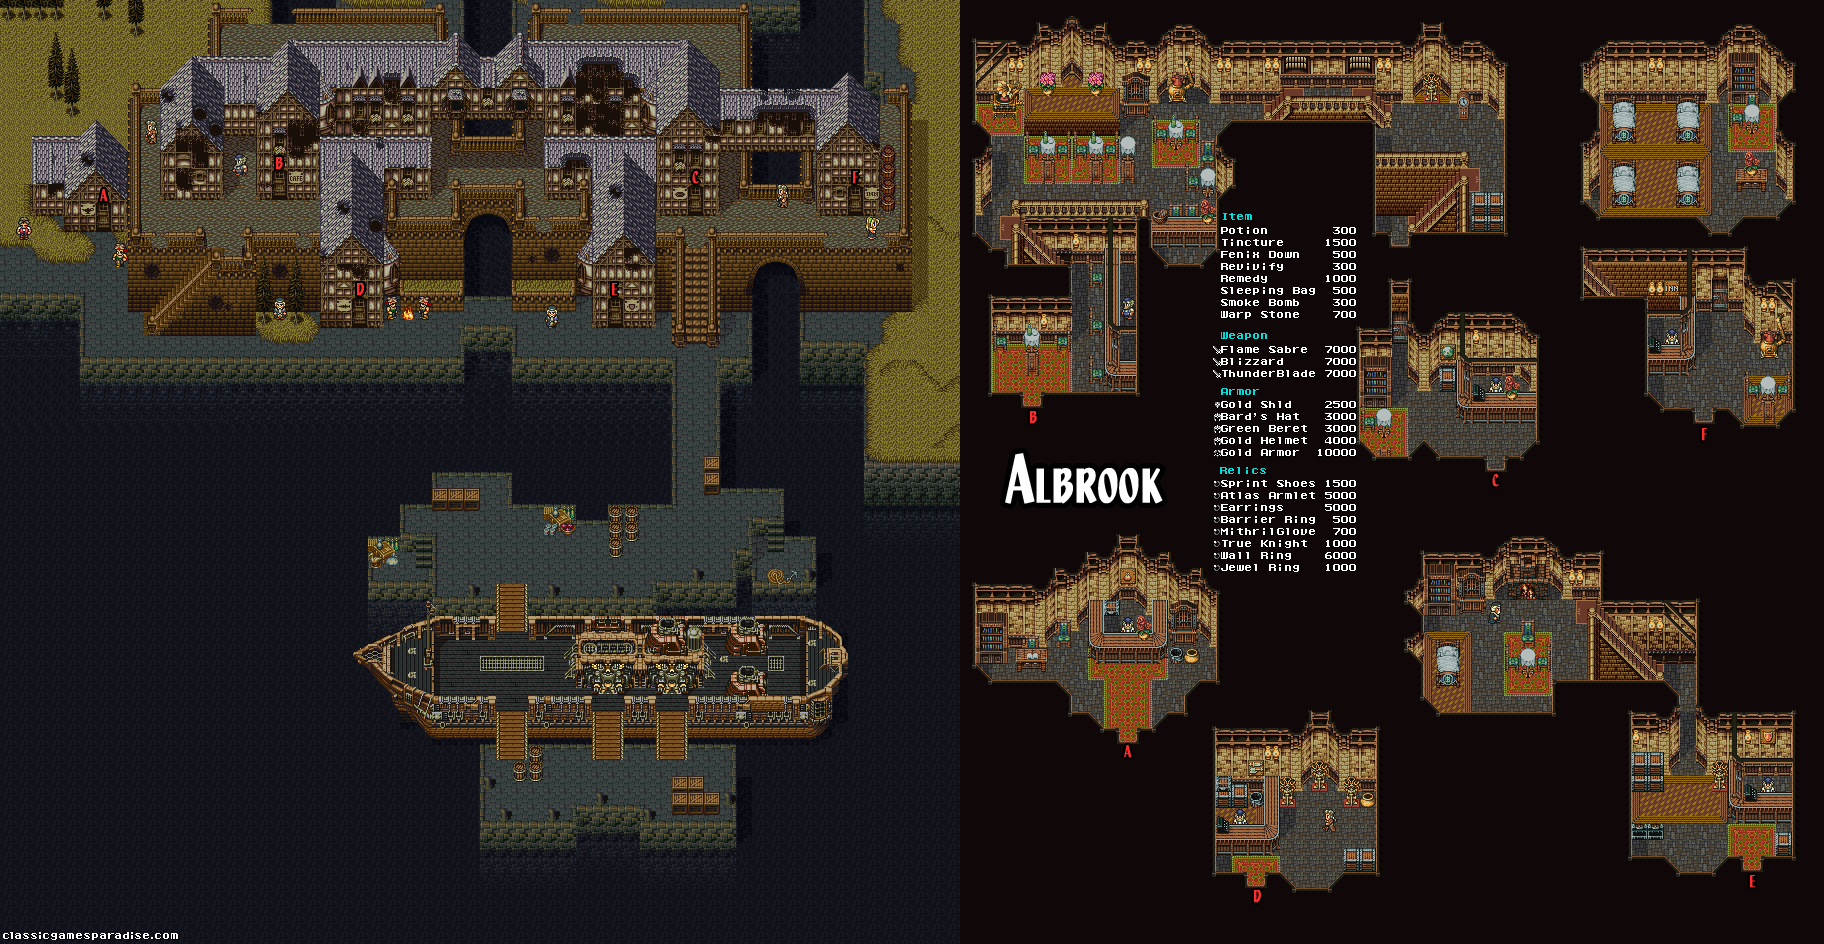
Talking to the people reveals that Albrook isn't the only town to survive the cataclysm. You will also hear rumors of other adventurers that sound oddly familiar. One such person was headed north to Tzen.
The people no longer fear the Empire, but rather Kefka. Debris has drifted to the center of the continent, forming his twisted tower. With the Statues in his possession, he uses the Light of Judgment against any village that incurs his wrath.
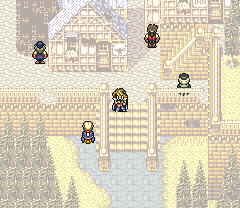
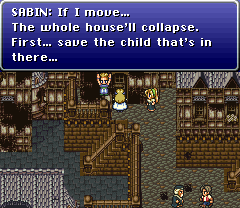
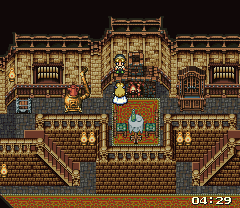
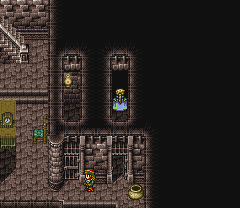
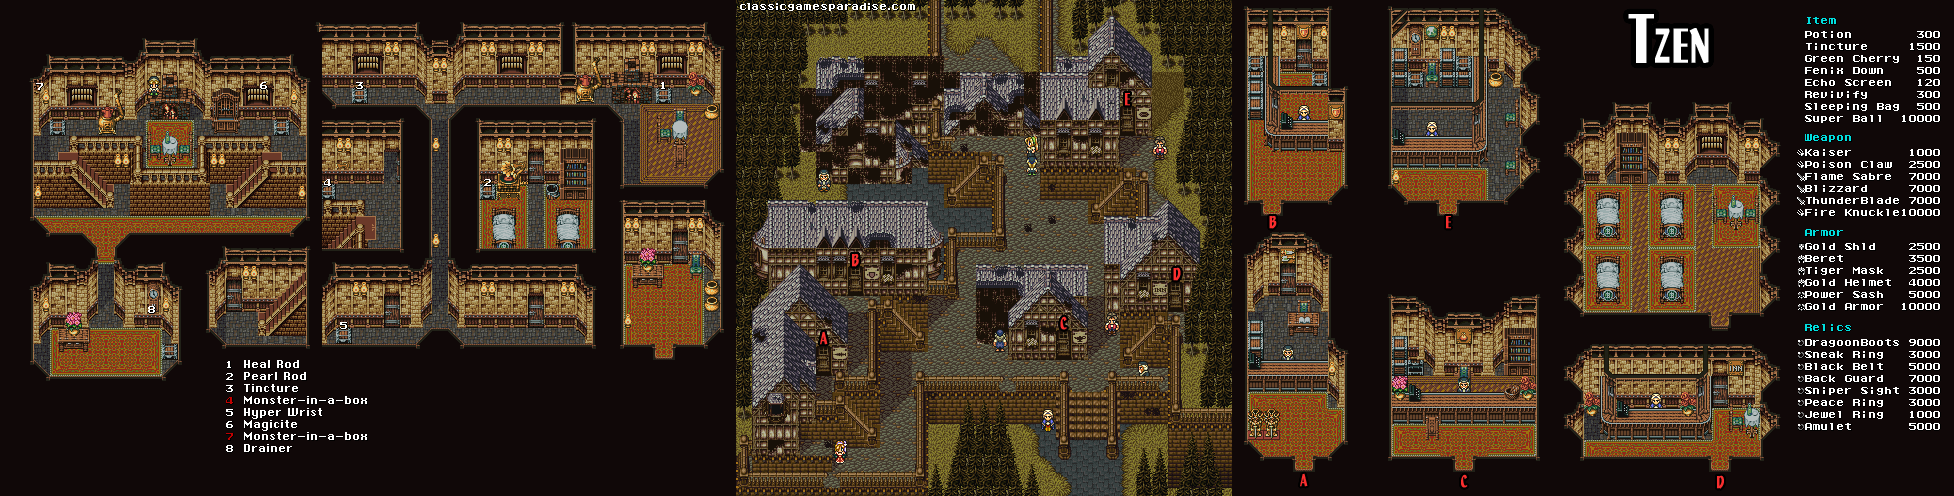
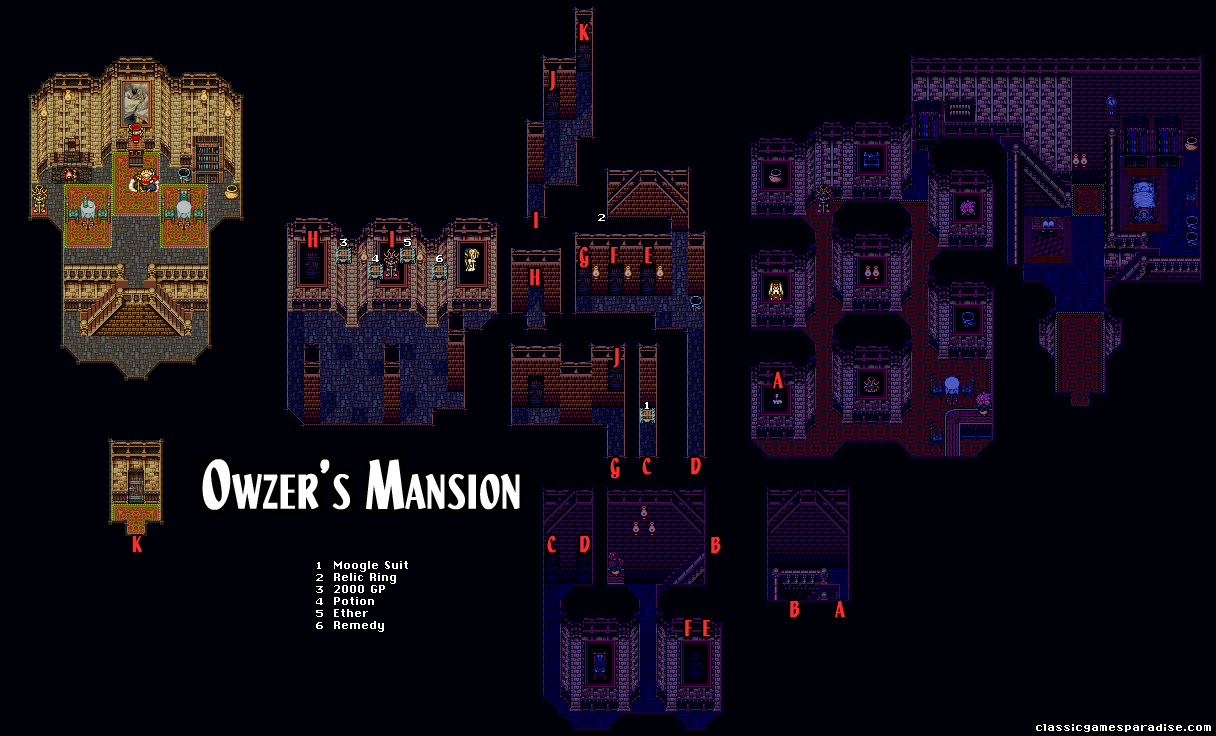
As you enter Tzen, you will experience the Light of Judgment first-hand. The mansion at the north end of town is about to collapse and you will find Sabin holding it up. There's a child trapped inside but Sabin won't be able to hang on forever. You will have 6 minutes to find the child and escape before the entire thing collapses. As your only party member, Celes is still very vulnerable, especially to the enemies within that can inflict Petrification on you. Run or use Smoke Bombs or the Warp spell to avoid as many battles as possible. Two of the chests inside are trapped but the rest contain valuable items. In the basement, you will find the child sitting on top of the fireplace. As you escape the crumbling mansion, the building will fall behind you.
Now that you have the first of your companions back, it's time to continue the search for everyone else.
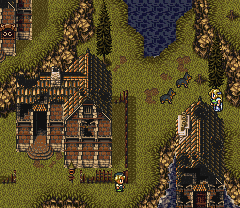
The journey to Mobliz will take you across the bridge far to the east, along a narrow corridor of land. Make sure you are well supplied before departing. To make this trip easier, you can find a hidden Chocobo stable in the forest northwest of Tzen.
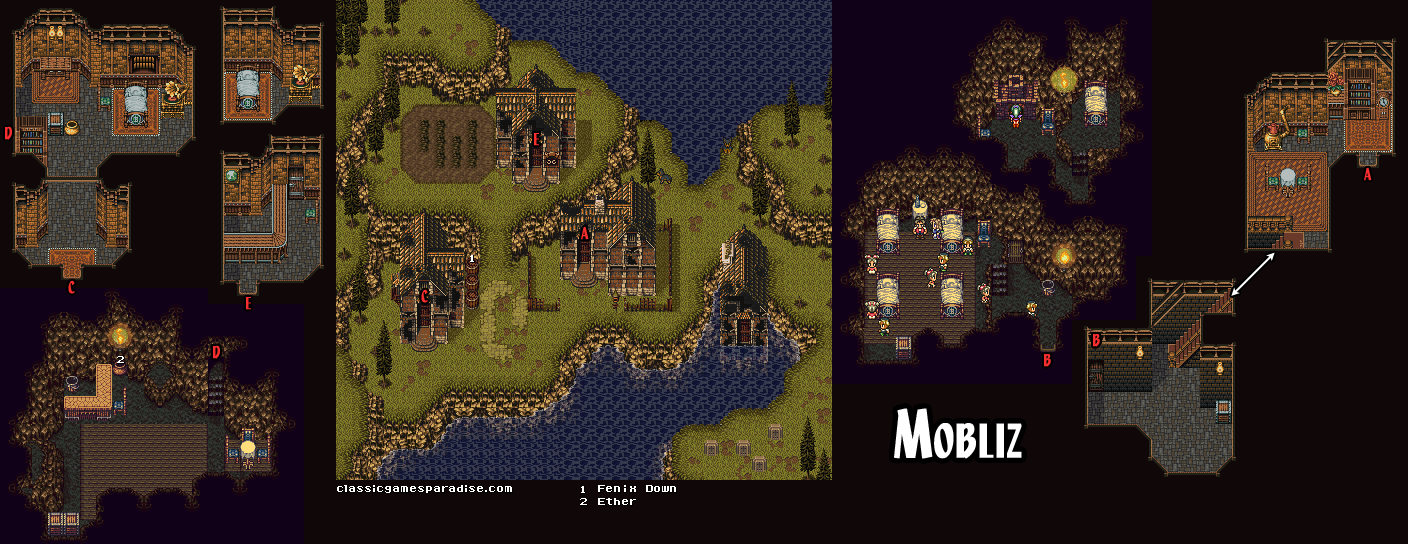
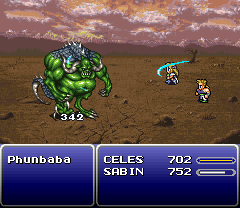
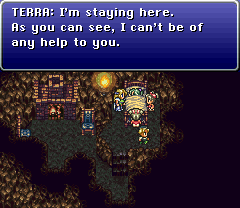
When you enter Mobliz, the entire place looks deserted as you are greeted only by barking dogs. Inside the first building, you will find a group of children along with Terra, who has become a matriarchal caretaker to them. It seems she has really lost her will to fight and no amount of talking can convince her to come with you. As you leave, the menace Phunbaba will attack. Terra doesn't stand a chance, so Celes and Sabin step in to drive him off.
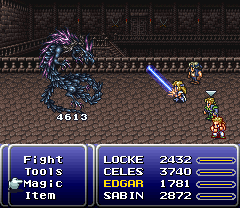
Phunbaba is a straight-forward brute and doesn't require much of a strategy but he is very strong and with only 2 characters, he can overwhelm you quickly. Besides his basic attack, he can target everyone with Bolt 2, and can deal massive damage to one person with his needle attack. Without Cure 2, you may find yourself slowly losing this battle of attrition. He will absorb Bolt magic but is weak to poison. After doing about 6000 damage to him, Phunbaba will run away to fight again another day.
As you leave Terra behind, one of the children gives you the Fenrir Magicite that Phunbaba dropped in his haste. If you need to recover, you can rest in the abandoned relic building before departing.
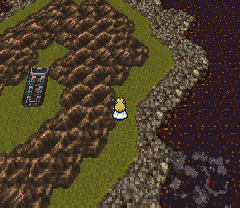
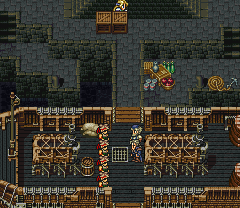
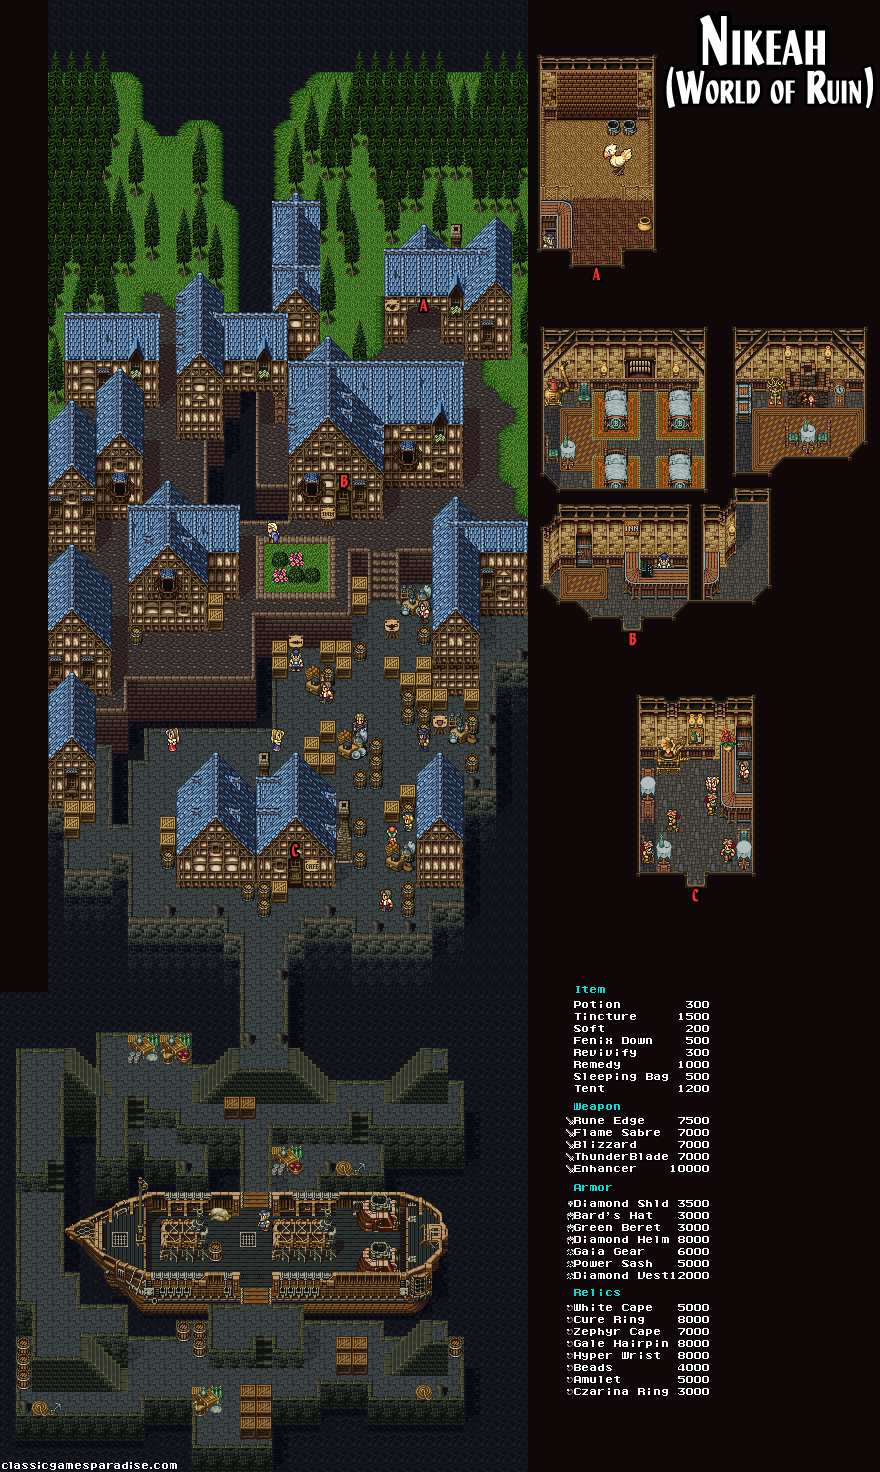
Nikeah lies to the northern-most point of the narrow continent, far above the bridge you originally crossed east to reach Mobliz. A hidden chocobo stable can be found in the western section of the forest south of Mobliz. As you venture north along the elevated Serpent's Trench, you will pass the Tower of Fanatics, surrounded by mountains.
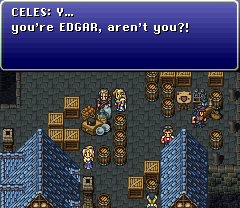
Nikeah is still the bustling port city you remember. At the cafe, you will find a shady group of thieves that just broke out of Figaro Castle's prison. Talk to all of them and they will get ready to leave for the dock. Go to the market and you will find their leader, Gerad. He looks an awful lot like Edgar and when Celes calls out to him, he denies knowing her. Follow him to the dock to discover their plan to break back into Figaro Castle and you will stow-away on their ship, bound for South Figaro.
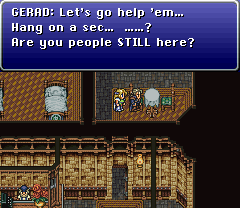
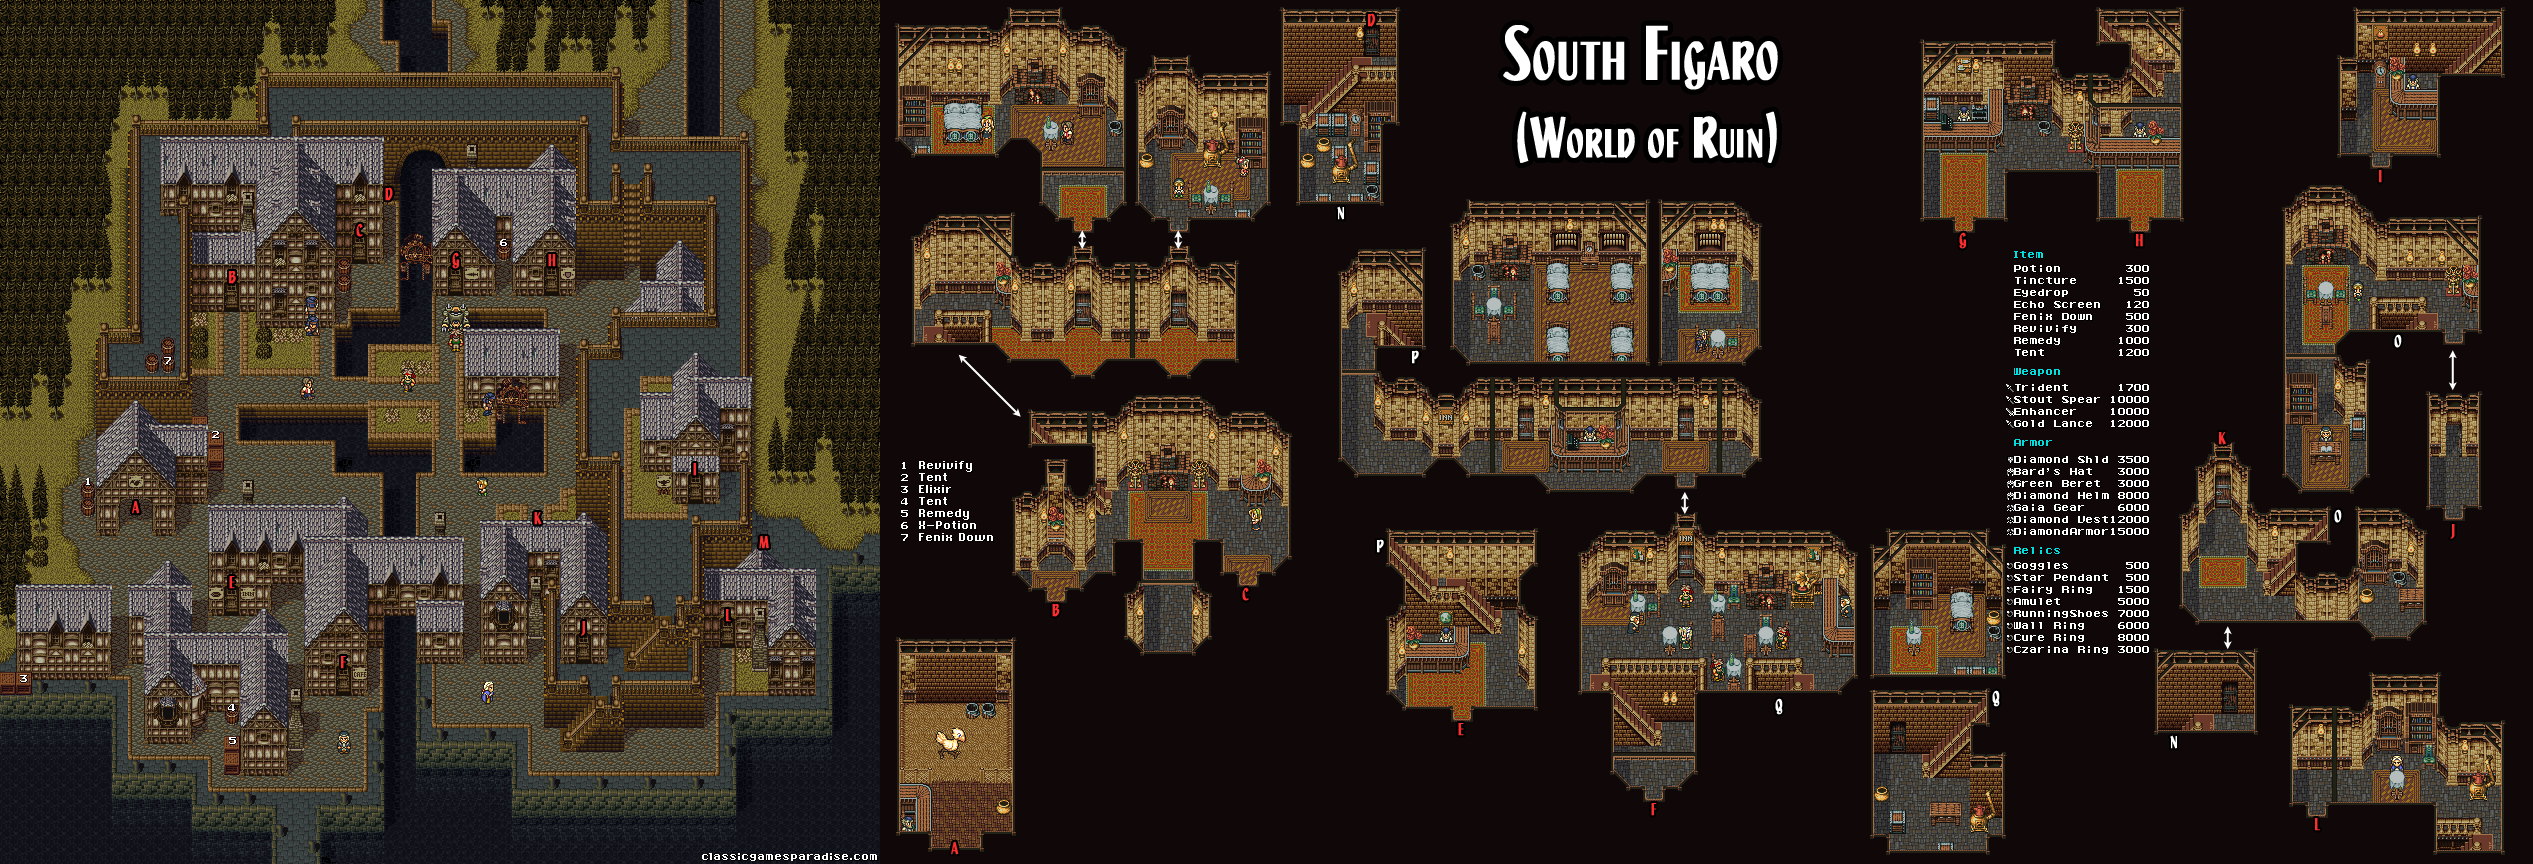
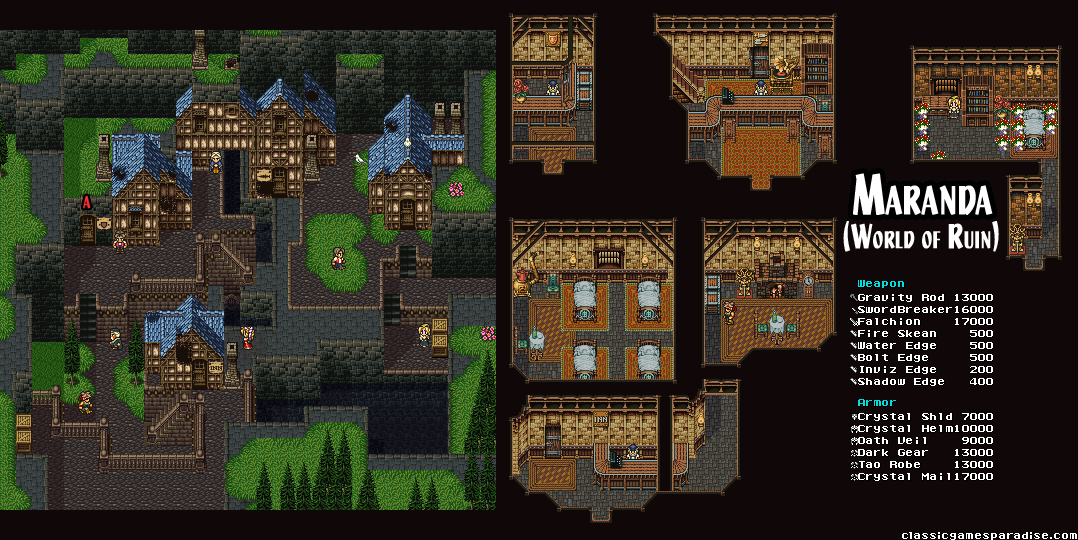
Like Nikeah, it looks like things are mostly back to normal in South Figaro. You can purchase a few upgraded weapons and armor, but make sure you buy RunningShoes at the Relic store for Celes and Sabin before leaving town. If you talk to Duncan's wife in her home in the southeast corner, she will assure you he is still alive, meditating somewhere north of Narshe.
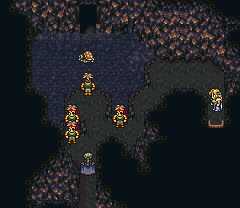
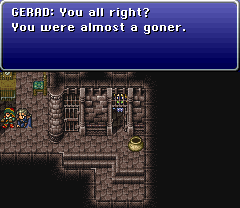
You can find "Gerad" at the inn and he will once again deny knowing you. Your conversation will be interrupted by one of the thieves and they will head out. Enter Figaro Cave to the southwest and at the spring-side entrance, you will see one of the thieves reveal the way to reach the doorway beyond. Time your jump for when the turtle is directly in front and you will eventually find yourself in Figaro Castle's prison.
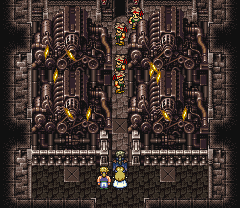
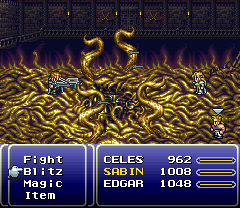
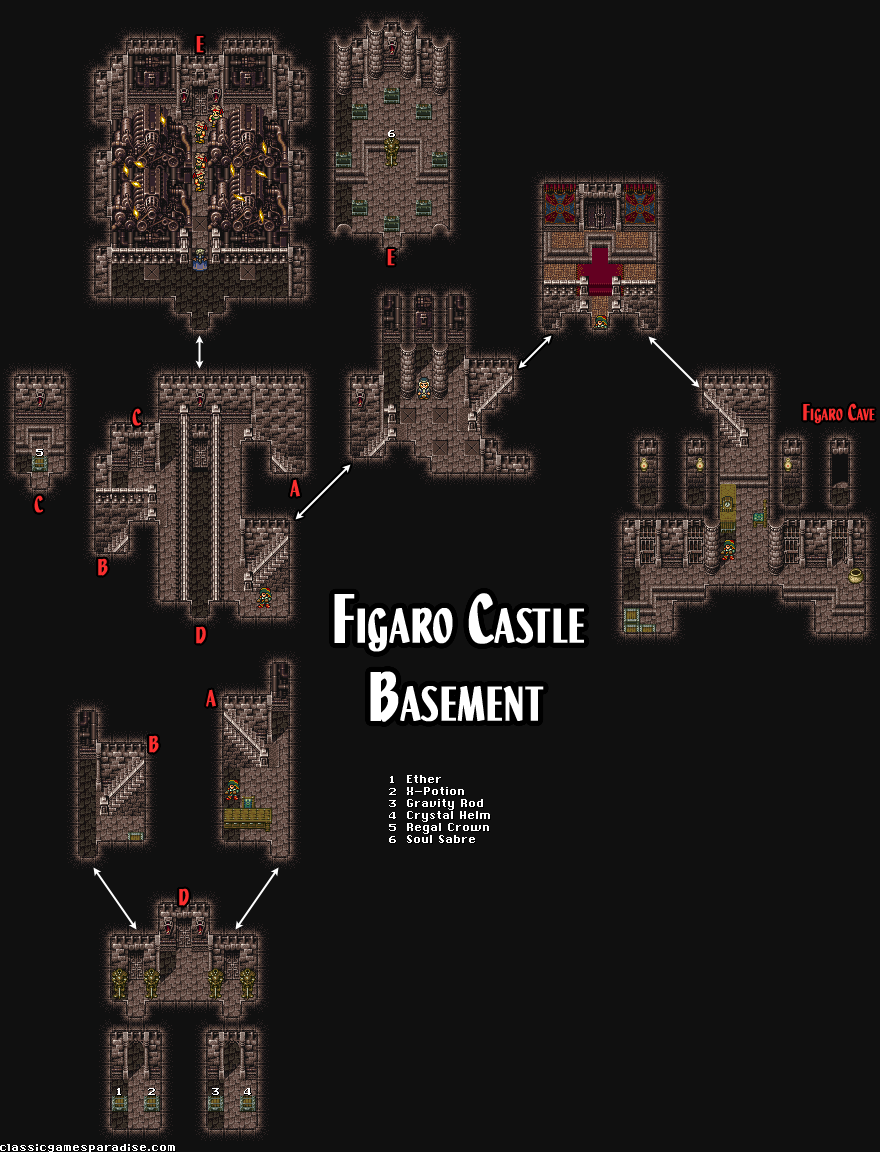
This straight-forward area will take you directly to the engine room where the thieves are attempting to break into the treasure vault. Before taking the central corridor there, you can follow the left stairs up to grab the Regal Crown for Sabin. As the thieves go on ahead, Edgar finally admits his real identity, and you join him in battling the monster that has taken control of the castle's engine.
The four tentacles will each use their entwine attacks to inflict Slow on a party member. If they use entwine again, that party member will be grabbed and temporarily removed from battle while their HP is drained. Any character that doesn't have Slow will be immune to this effect, so equip RunningShoes for the non-removable Haste effect beforehand. The lower-right tentacle absorbs fire, lower-left absorbs ice and the upper-right absorbs bolt. Despite this, it may be a good idea for Sabin to use Fire Dance to damage 3 of them. Edgar's AutoCrossbow really comes in handy here, and Celes can use targeted magic while keeping everyone healthy.
With the thieves gone and the engine back in working order, you finally have control of Figaro Castle once again. Talk to the engine operator and he will bring you straight to the desert near Kohlingen.
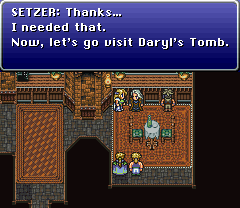
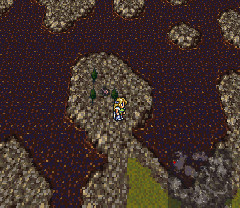
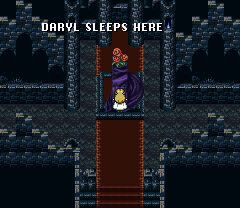
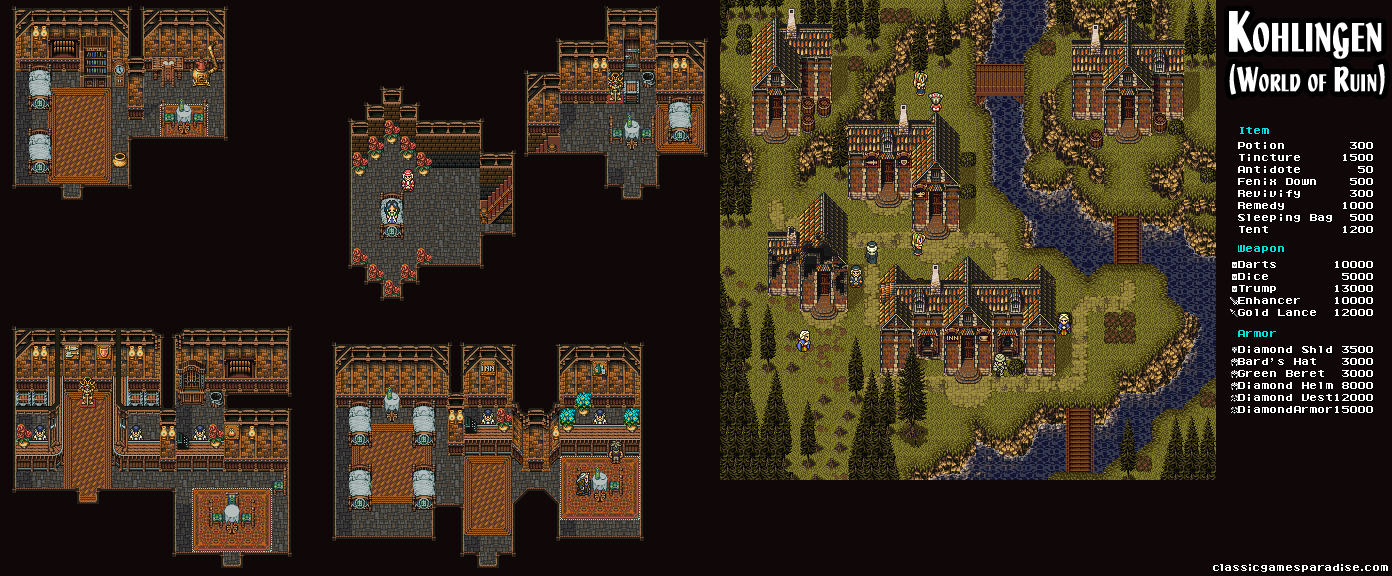
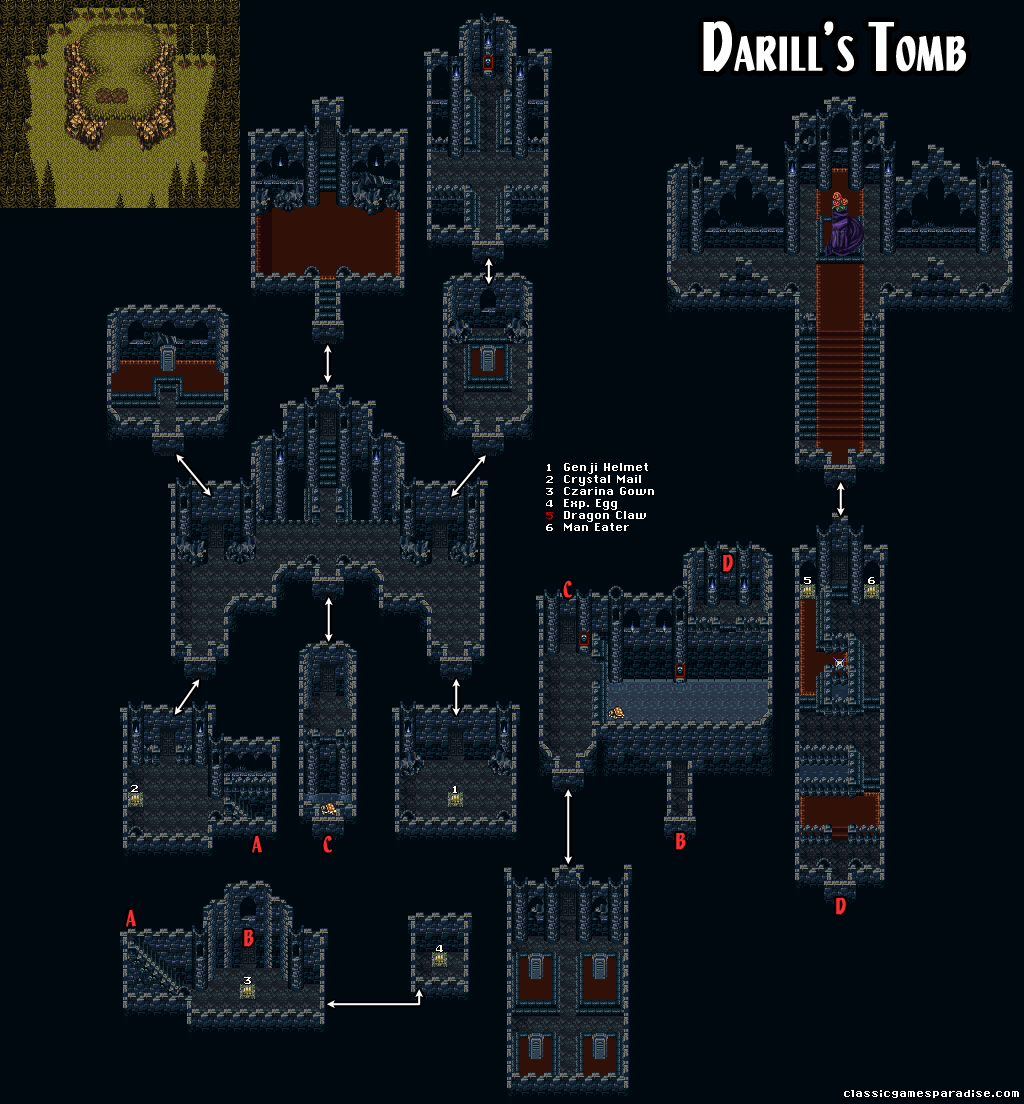
You will find Setzer drowning his sorrows at the inn. Thinking that everyone was lost for good after the world ended, his spirits pick right up as he says there is one other airship still out there. Darill's Tomb lies to the southwest of Kohlingen. It's filled with dangerous undead enemies that will inflict the Zombie status on you, so make sure to have a good supply of Revivify, or better yet, equip Amulet relics on everyone. You can buy more Amulets in South Figaro if you don't have enough already.
From the main intersection area, enter the upper-right door and investigate the tombstone to open a secret passage. You will find a switch inside that will raise the water level in a nearby corridor. Back at the intersection, take the lower-left door down the stairs and then through the door. The switch in this watery area will open a door on the platform above you. Return to the intersection once again and take the bottom-center door to ride the turtle across the flooded passage.
If you go south, you will find 4 gravestones with cryptic messages on them. Returning to the intersection and taking the upper-left door, you will find a blank tombstone. Carving the letters WEHT DLRO QSSI ERAU will reveal the hidden message read backwards, as well as a hint to find the Exp Egg relic.
Back at the watery room before the 4 gravestones, press the switch to raise the water level and then ride the turtle over to the now-opened door. The left treasure chest you find will be trapped with the Presenter, reminiscent of Whelk back in Narshe. Just like before, avoid attacking when he retreats into his shell. His magic attacks can be absorbed with Celes's Runic blade and the Magnitude 8 attack can be nullified by casting Float on the entire party. Alternatively, he is vulnerable to instant-death attacks like Edgar's Chainsaw or Setzer's Trump weapon. For winning, you will receive Sabin's powerful Dragon Claws.
Just ahead, you will find Darill's resting place, along with the Dullahan haunting her tomb. He will alternate between using ice and holy magic against you, in combination with his normal attacks. He is weak to fire, so all four characters using their strongest fire magic, or Fire Rods, will make short work of him. Be especially wary of his special attack that can freeze your entire party. Casting a weak Fire 1 spell on everyone will thaw them out instantly without too much pain.
Follow the stairs behind the altar and Setzer will lead you down to where Darill's restored airship has been laid to rest. With the Falcon airship in your possession, the entire world is now open to you. However, Celes suddenly spots another pigeon and her intuition says it's important to follow it.
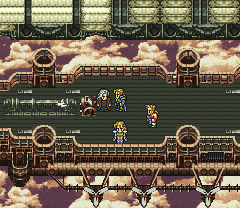
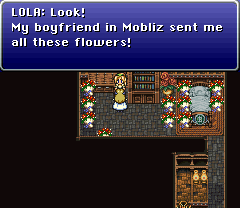
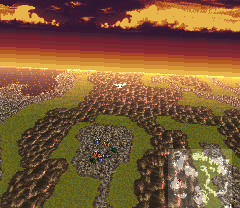
The bird will lead you straight to Maranda. If you want to know how to reach a few locations in this changed world, a helpful woman between the weapon and armor shops will show you how to find Narshe, the Veldt, and Doma Castle. When you visit the girl who was worried about her boyfriend, you will discover she has been receiving letters from him by carrier pigeon with gifts of flowers. Something seems a bit off, so follow the pigeon once again and you'll wind up in Zozo.
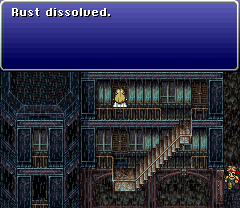
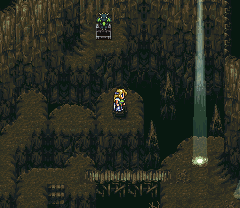
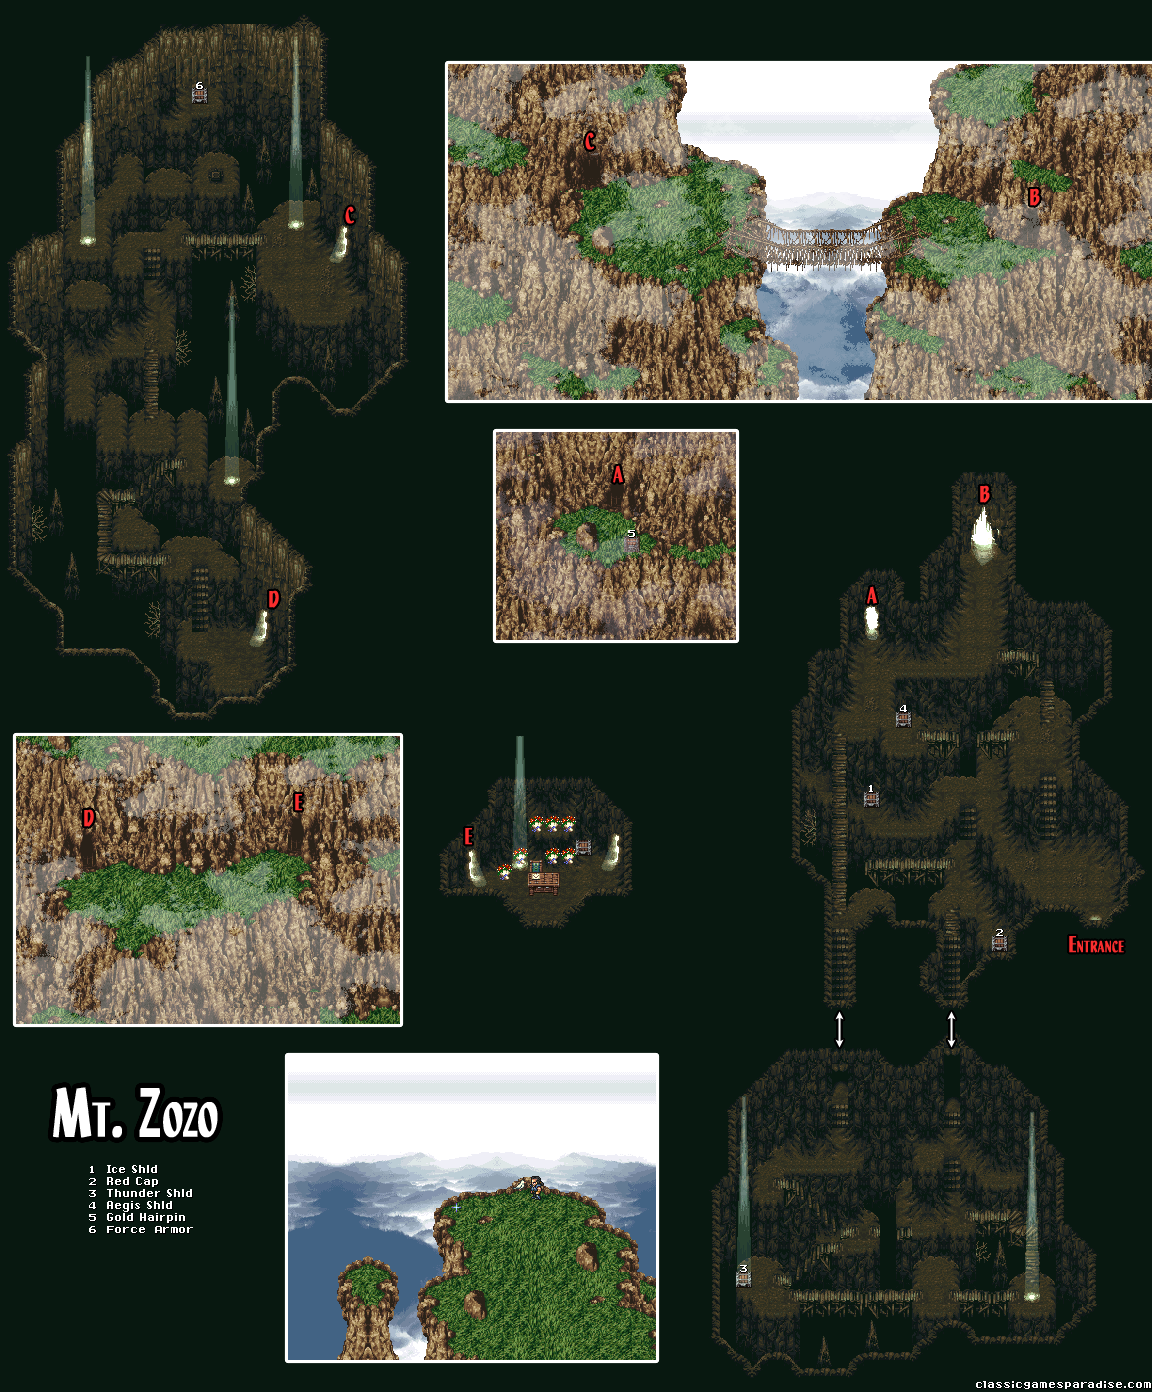
At least one place never changes. Zozo is still a dangerous town filled with thieves; but one person will offer you help. Talk to the man near the inn who will offer you Rust-Rid to open the rusted door above the cafe. This passage will lead you up to Mount Zozo. This place is host to many dangerous enemies, including the Storm Dragon, one of the eight dragons unleashed upon the world by Kefkas actions. If you don't want to fight him now, you can avoid the floor switch and return later when you are better prepared.
The Storm Dragon has several attacks that are elemental based and they can be blocked with the Thunder Shld or the Minerva, if you are returning from later. ZoneSeek's Wall summon really comes in handy here. Its Cyclonic ability is especially dangerous as it cannot be blocked and will put your entire party in a critical HP state. To counter its punishing physical attacks, Golem or Fenrir can be summoned for extra protection. Storm Dragon is weak against lighting, so unload on him with Bolt 2 or even Bolt 3 if you have it. Terra's Morph ability can really help crank up the damage. When it reaches low HP, Storm Dragon will start using even more powerful attacks. If you concentrate on using Osmose in the earlier phase of the battle, he may not have enough MP to use those abilities later on. As always, Haste or Haste 2 will help bring you over the finish line of this long and difficult fight.
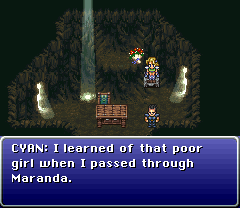
Just ahead, you will discover a dwelling full of flowers. Investigating the half-written letter reveals this is where the woman from Maranda has been receiving her correspondence from. Outside, you will find Cyan, who confesses he couldn't bear to tell the woman that her boyfriend had died. Realizing her situation is very similar to his, Cyan pulls himself together and joins you once again.
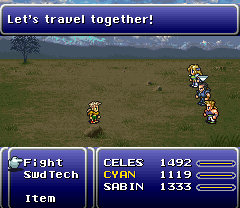
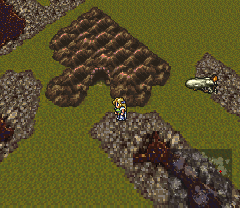
In the search for Gau, head to the Veldt with a party of three. Just like before, you will find him alongside random encounters. Defeat the beasts he is with, and he will join you once again. This is also a good opportunity to have Gau learn some new skills by fighting some more on the Veldt.
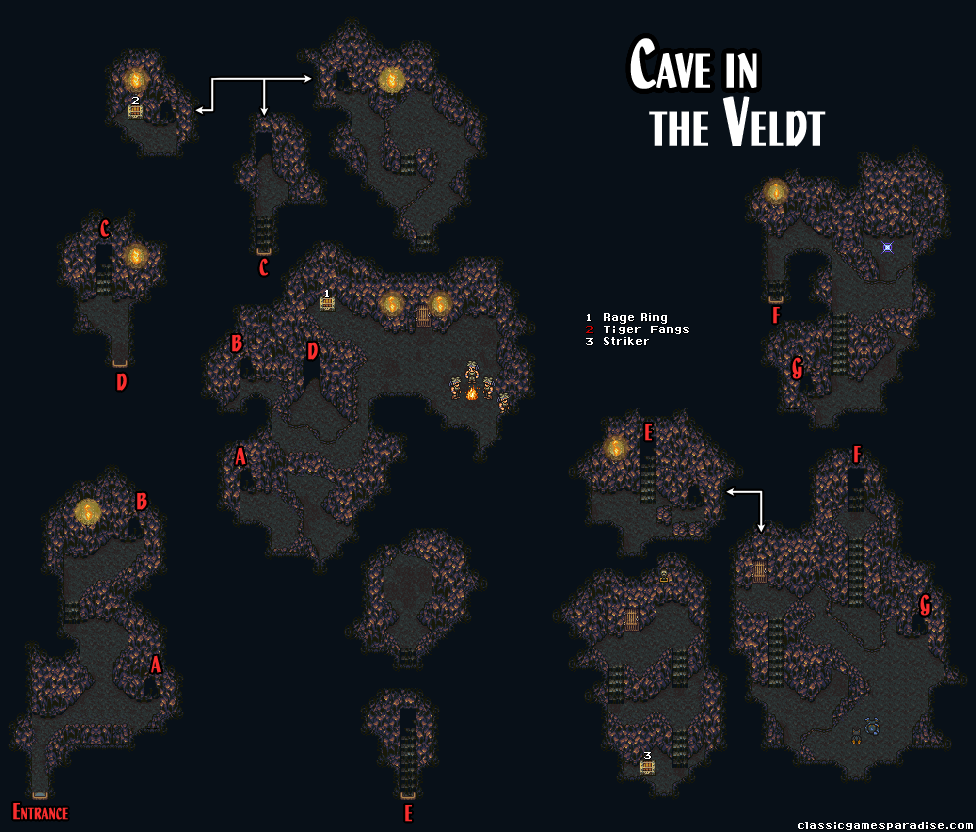
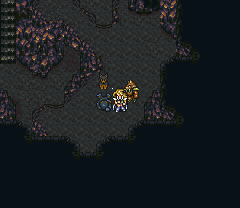
In the southwest section of the Veldt, a cave has been unearthed by the cataclysm. Inside, you will find a familiar looking dog that runs off further within. Following him, you will find a group of men sitting around a fire. One will give you a warning about a powerful dragon sighted in a forest to the north. Further ahead, you will find a trapped chest at the end of a hidden passage. Defeat the undead Allo Ver easily with a Revivify to win the Tiger Fangs for Sabin. The blocked door ahead can be uncovered by flipping the switch to the south to move the rocks.
Continue to follow the dog, and you will eventually come up against the Sr. Behemoth. His powerful magic attacks can be stopped by Celes's Runic ability while the others hit him with their strongest attacks. Watch out for his Meteo attack which can cause heavy damage to everyone. Just when you think you've won, Sr. Behemoth will return in his new form to attack you once again. Because he is now undead, using Revivify will instantly kill him for good this time.
Nearby, you will find Shadow lying on the ground if you waited for him back on the Floating Continent. Along with Interceptor, you will end up back in Thamasa. If you didn't wait for Shadow, you will find Relm in his place instead.
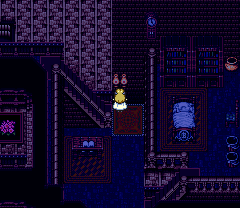
Going to the western-most city on your map will bring you to Jidoor. Owzer's mansion is eerily dark but the open diary will tell you where to find the light switch (by the stairs). With the lights on, ascend the stairs. Examine Emperor Gestahl's portrait twice and strangely it will relinquish a letter. Examine the painting of the beautiful woman to the southwest and you will be attacked by two Dahlings. After defeating them, a doorway will open for you.
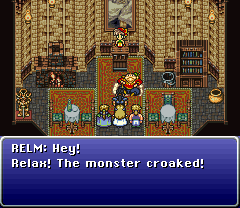
At the three shifting doors, the center and right ones will take you back to the painting at the bottom of the stairs, so take the left door to proceed. The floating treasure chests will drop to the ground if you approach their shadows. They are each guarded by enemies that will reward the item within once they are defeated. Examine the painting of the armor and you will face Still Life. It will inflict Doom on your party with its Condemned counter-attack so attack aggressively and use fire magic to finish the battle before the timer ends. You will eventually find Owzer, and Relm working on a new painting. The woman's portrait is haunted by a demon and your party steps in to exorcize it while Relm finishes her work.
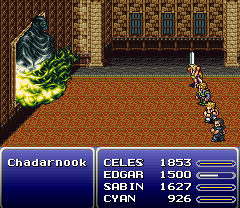
The image from the painting will shift between the Goddess and the demon, Chadarnook. Any equipment that blocks or absorbs lightning will really help you in this fight. Only the demon can be killed, so time your attacks to damage him, while taking the opportunity to recover when the Goddess is shown. The Goddess will vanish after a set amount of turns while Chadarnook will vanish after being attacked enough times. Celes's Runic ability can be used to absorb Chadarnook's bolt attacks while the others pummel him with strong attacks and fire magic.
With Relm's work completed, she will join you once again. Be sure to grab the Starlet magicite from the bookshelf before leaving.
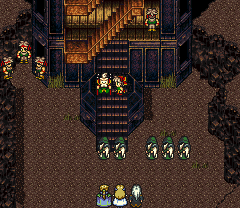
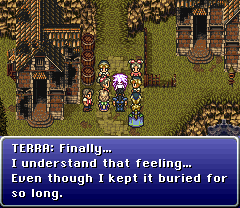
With the airship, you can now enter the Tower of Fanatics, which you previously passed along Serpent's Trench on the way to Nikeah. Outside, you will find Strago in a trance with the other worshippers. With Relm along, she can snap him out of it, and he will rejoin your party.
Return to Mobliz and you will discover that Terra and Katarin have gone missing. Investigate the house next door and you will see a dog run behind the bookshelf. Follow and you will find a hidden staircase leading to Terra talking about the baby Katarin is going to have. Once again, the earth shakes and Phunbaba attacks the ruined hamlet.
Phunbaba is even stronger than before and his attacks can deal over 1,000 damage to his targets. When the first member of your party is removed, Terra will step into the battle. Phunbaba is weak to Bio so inflict him as early as possible. Just like before, avoid using bolt magic against him and equip any armor that absorbs lightning.
After the battle, Terra reveals her Esper form to the children. Though they are afraid at first, they soon recognize her. Knowing that she needs to make the world safe once again for their sakes, Terra regains the will to fight.
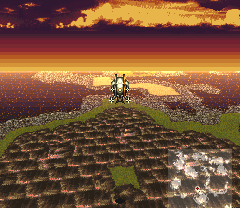
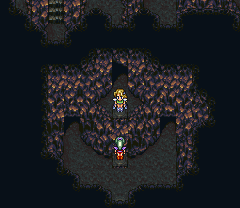
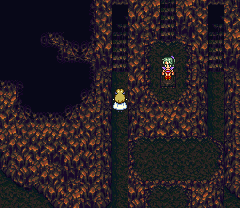
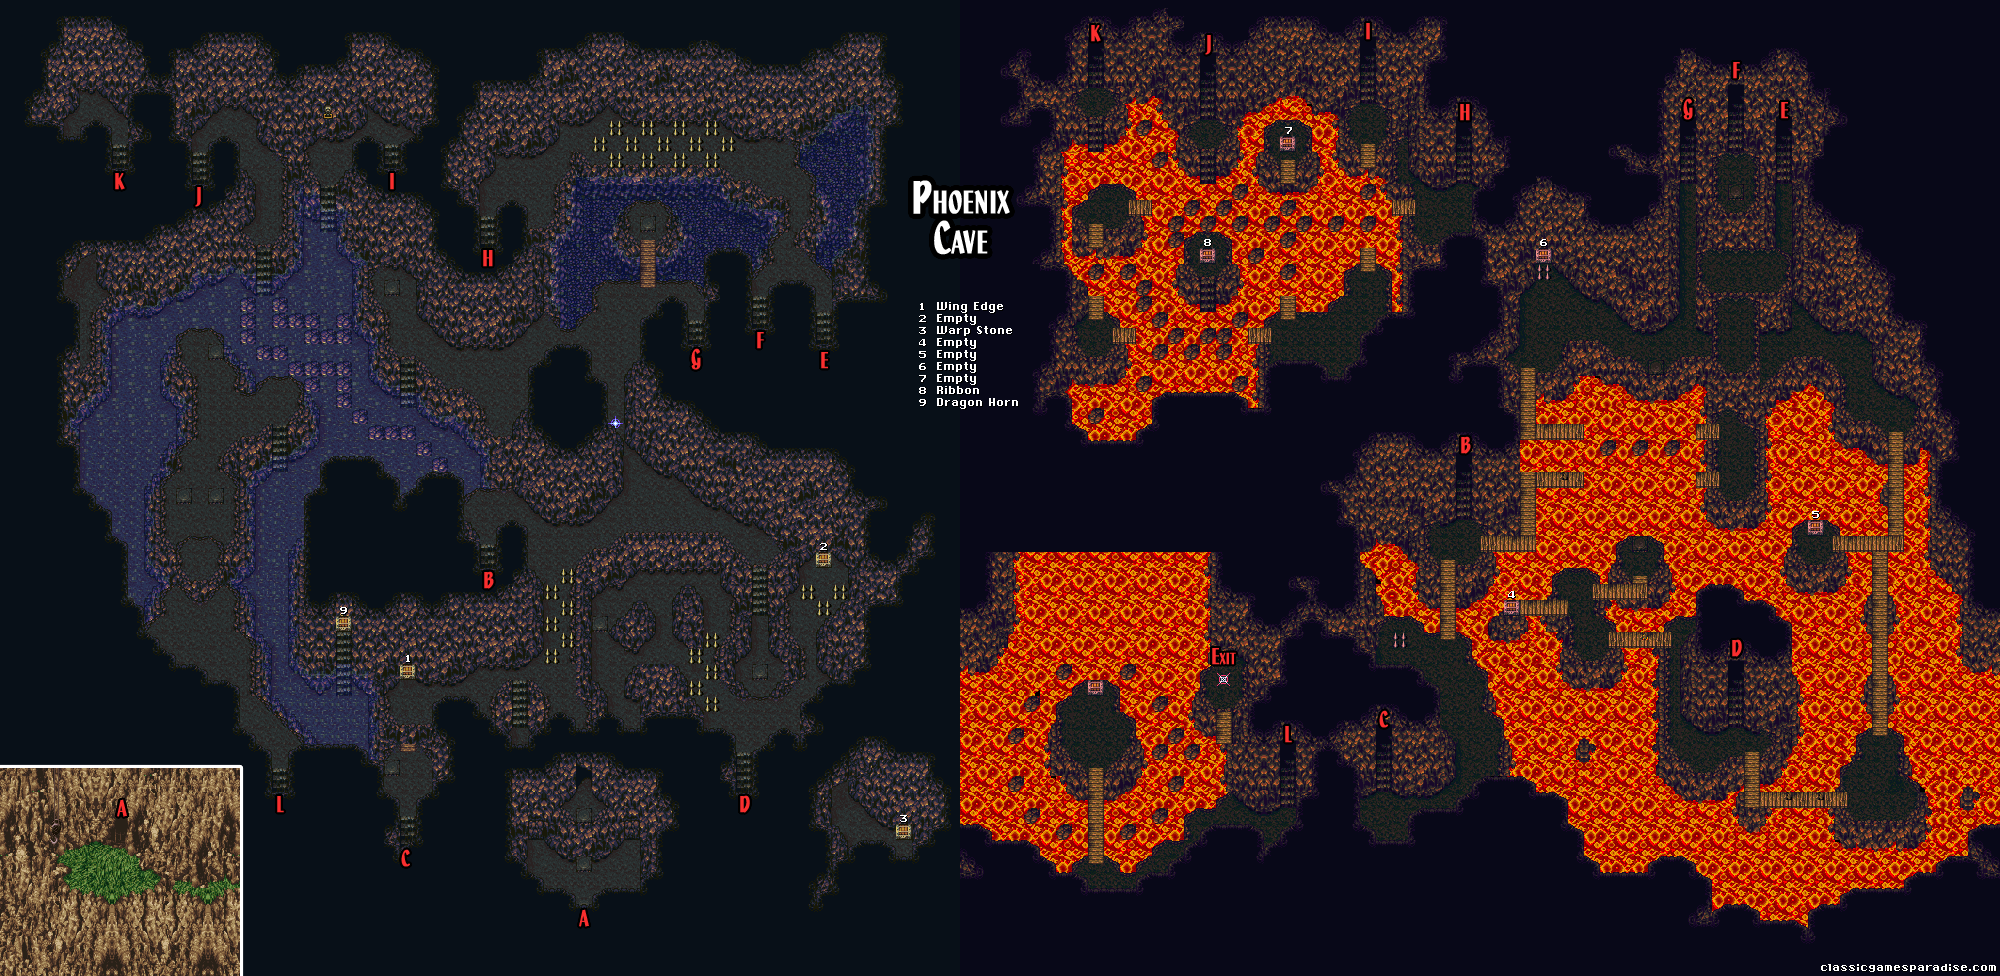
If you examine the letter you received from Gestahl's painting in Owzer's mansion, it will contain a valuable clue where the Phoenix Cave can be found. The star-shaped mountain lies to the north of Tzen, but you will want to be well-prepared before entering. This will be one of your biggest challenges yet because you will need two full parties capable of surviving some tough random encounters. Within, you will split into two teams who will need to work together, switching with the [Y] button, to clear the way for each other.
Stand on the first floor switch you see to open the door. With your other team, head up the stairs and step on the switch above the ledge to open the other door. The first party can now head through that door and step on the next switch to disable the spikes. You may be tempted to head for the treasure chest you passed on the left but a pitfall will simply drop you to the floor below. Instead, walk though those lowered spikes and take the stairs down, then walk south to find another set of stairs to bring you back to the first floor. Step on the switch you find to create a bridge, safely leading to the chest containing the Wing Edge. Back though the spikes once again, head to the right to find another switch to allow your other party to descend down another flight of stairs back to the lava level.
To the left, step on a switch to make 3 stepping stones appear. Back to the right of the stairs, following the bridge up will lead to an apparent dead-end. Switch back to the other party on the floor above and descend the stairs to the lava level. Jump across the 3 raised stones to the right and then the next 3. The chest behind the spikes is empty so you don't have to worry about opening it. Stepping on the switch you see south of the stairs will open the way for your other party. Switch back and go up the stairs to loop back around to the lava floor and step on the switch to re-open the stair passage.
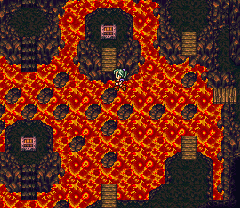
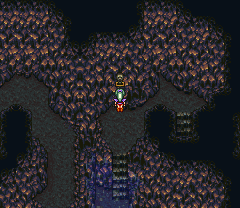
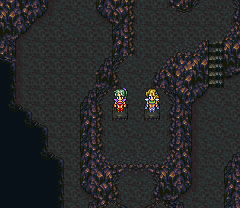
Switch back to the left-side party and go up the stairs. Stepping on the little island's floor switch will lower the spikes so you can move your other party safely through them and back down again to the lava level. You can't reach the chest in the middle just yet, so jump across the stones to reach the upper level once again. Pressing the wall switch will drain the water, cooling the lava below. Switch parties and step on the floor plate to the left to open a pathway though the drained pool. Going south through the pool, you will reach a section with three floor switches. Step on the upper one to make two rocks appear.
Switch parties and walk to the left, through the drained pool to reach the floor below. Now that the lava is cooled, you can walk to the chest in the center to pick up the powerful Ribbon relic, which protects against almost all status ailments. Take the stairs in the upper-left corner of the room to return to the floor above. Hop across the gap with the stones and step on one of the two floor plates. Switch parties and step on the other floor plate next to it to permanently open the path below.
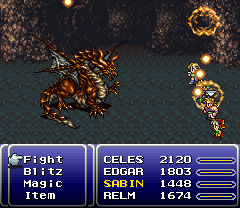
Before you continue, you may have noticed the drained pool has freed the Red Dragon. Like the Storm Dragon earlier, it may be a good idea to return once you are stronger before deciding to fight it. It will absorb all fire attacks but is vulnerable to ice and water. It will pummel you with powerful fire magic so armor like the Fire Shield will help you here. One of those fire spells is Lv 4 Flare, which causes massive damage to anyone with a level divisible by 4. If you cast Reflect, it will attempt to dispel it from your party. At low HP, it will begin using even stronger magic with Flare and Fire 3. Its S. Cross ability is especially dangerous, as it can wipe out your entire party if they are at low HP. It may prove helpful to poison it at the beginning of the battle if you are forced to focus on defense later.
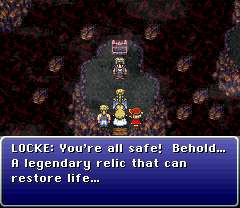
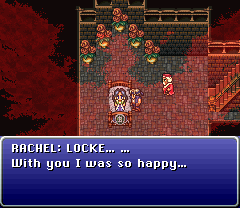
Ahead, you will be reunited with Locke, who has just recovered the legendary Phoenix Magicite. Back at Kohlingen, he attempts to revive Rachel with it and she regains consciousness long enough to say farewell. With a renewed sense of purpose, Locke will rejoin your party, but not before giving you the treasures recovered from those empty chests in the Phoenix Cave.
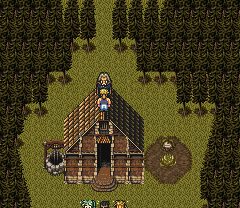
If you talked to Duncan's wife back in South Figaro, she assured you that he is still alive and training in a secret location north of Narshe. With Sabin in your party, take the airship and land near a cross-shaped pattern of trees just north of Narshe. Check the center tree and you will find Duncan, who has just devised a new Blitz. The Bum Rush requires a complex input of buttons, but it will deliver unrivaled damage to an enemy.
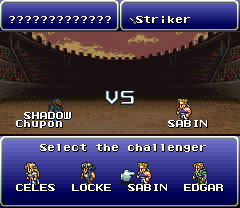
North of Kohlingen, you will find the Collosseum, where strong fighters from every corner of the world are gathered to test their strength against one another. Even Ultros is here working as a receptionist. The more valuable your wager, the bigger the prize you will receive — if you win. Talk to the people inside and you will hear the rumor that a man dressed in black is battling to win a blade called the Striker. You should have picked that up from the Cave in the Veldt, so put it up for bet and select a strong attacker like Sabin to enter the arena. With the Striker on the line, Shadow will be your opponent and after you win, he will join your party.
If you haven't done so already, take the airship and return to Solitary Island. On the beach, you will find the Palidor Magicite washed up on the shore. Learning its Haste2 spell will allow you to buff your entire party in a single turn, giving you a big advantage in any boss battle.
Narshe
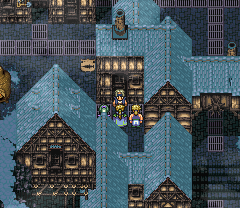
The streets of Narshe are empty except for the monsters roaming them. The houses are all locked up tight and you will find them all mostly abandoned. With Locke back in your party, pick the lock on the weapon shop and go behind the counter to find the owner in a back room, who gives you the Ragnarok Magicite. You will be given the choice between taking Ragnarok in Esper form or in sword form. While the sword is objectively the better choice, its Esper form will allow you to learn Ultima early, though you can learn it later from the Paladin Shield.
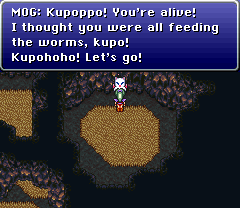
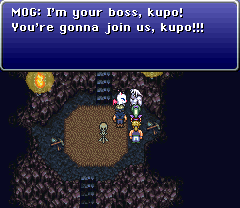
If you return to the Moogle Village in the caves (through Arvis's house), you will find Mog all alone. He eagerly rejoins you and says he has a friend you should take along as well. Before you leave, be sure to pick up the Moogle Charm relic where Mog was standing.
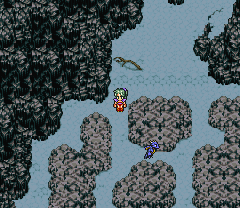
Head through the mines above Narshe to reach the icy battlefield where you fought Kefka's troops. There, you will find the Ice Dragon. As expected, it's vulnerable to fire and will use powerful ice-element attacks. If you have learned Fire 3 from Phoenix, it can be used to devastating effect here. Its special attack can inflict the frozen status on the party, but you can remove it somewhat painlessly with a low-level Fire spell. Like with the Fire Dragon, keep prepared for its group attack, Absolute 0, which causes massive damage to the entire party.
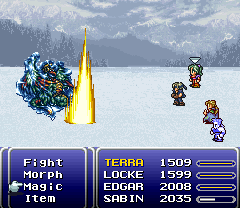
Still further ahead, you can find the frozen Tritoch on the cliff. Its physical defense is immense, making hits with regular weapons simply bounce away. Like the Ice dragon before, it will use ice-element attacks and is vulnerable to fire, so use the same equipment and tactics from the previous battle. A barrage of Fire 3 from your entire party will quickly bring this battle to an end. Special abilities like Sabin's Blitzes aren't treated as regular physical attacks, so they are still highly effective here.
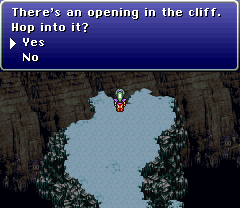
After defeating the Tritoch, he will join you as an Esper. Before leaving, check the cliff's edge. It appears the battle caused a cave-in, which leads down into the caverns below.
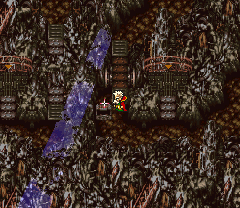
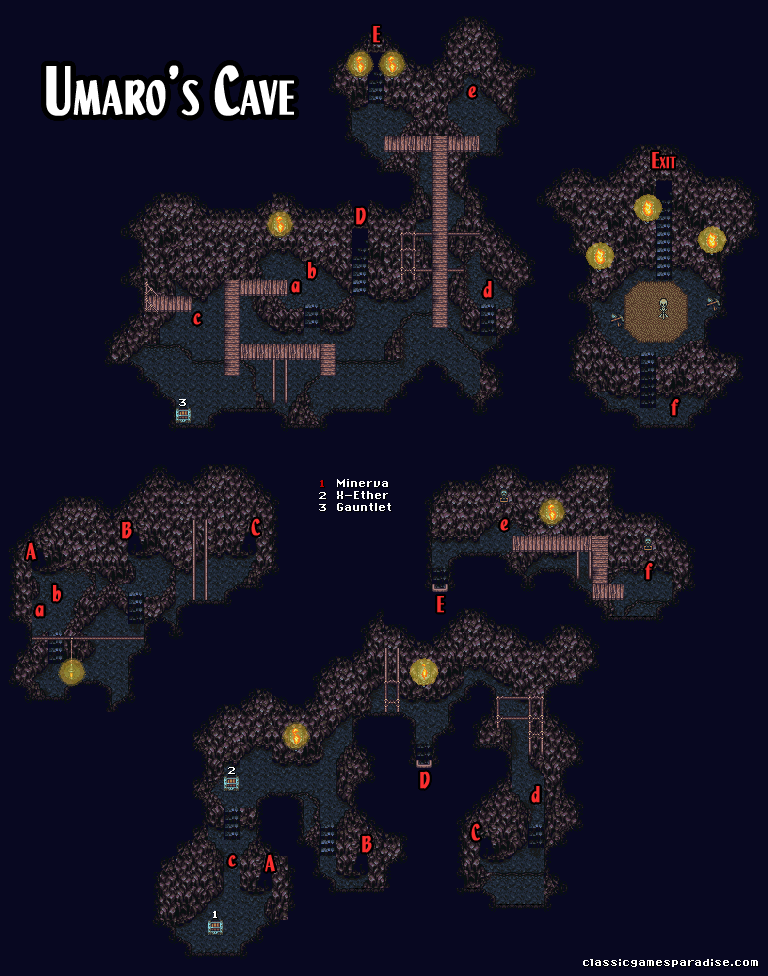
As you navigate Umaro's Cave, you will encounter several pitfalls that will drop you down to the floor below (marked in lower case letters on the map). Two of them will be on the platform to the left of your landing spot. However, they aren't completely invisible; if you look closely, you will see the ground is darker around them. Circle around them from the right side and enter the door to find a treasure chest.
This chest will be trapped with 3 Pugs. These extremely dangerous enemies will slowly creep towards your party and when they reach the character in front of them, they will inflict a fatal amount of damage. Their powerful normal attacks are all physical except for Pearl, which they cast as a counter every time they are damaged with magic. A simple solution to make this battle more manageable is to cast vanish on your party, or to inflict them with Imp. If Locke is in your party, this is a great opportunity to have him steal an extra Minerva armor for Celes or Terra.
Back in the first room, take the center door to find another chest to the left, and a doorway to the right. Through that door, you will be able to cross a series of bridges to reach another stairway up. This final area will have two switches. The left-side one will simply drop you back down to the room below and the right-side switch will drop you straight into Umaro's lair. Investigate the bone totem in the center of the room to receive the Terrato Magicite. Having disturbed his treasure, Umaro will show up and make you fight for it.
Umaro is a powerful straight-forward attacker. Unsurprisingly, this sasquach is immune to Ice magic but is vulnerable to Fire. Halfway through the battle, he will use his Green Cherry to grow stronger. Keep the pressure on with your strongest attacks and he won't last much longer.
If Mog is in your party, you will be able to recruit Umaro. If not, he will be waiting for you in his lair until you return with the moogle in tow. Exiting though the stairs will drop you back into the cliffs outside Narshe's mines.
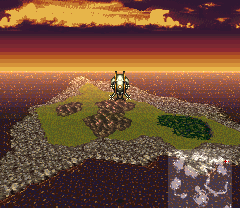
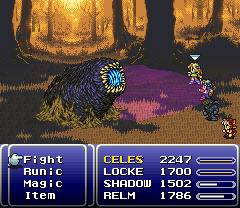
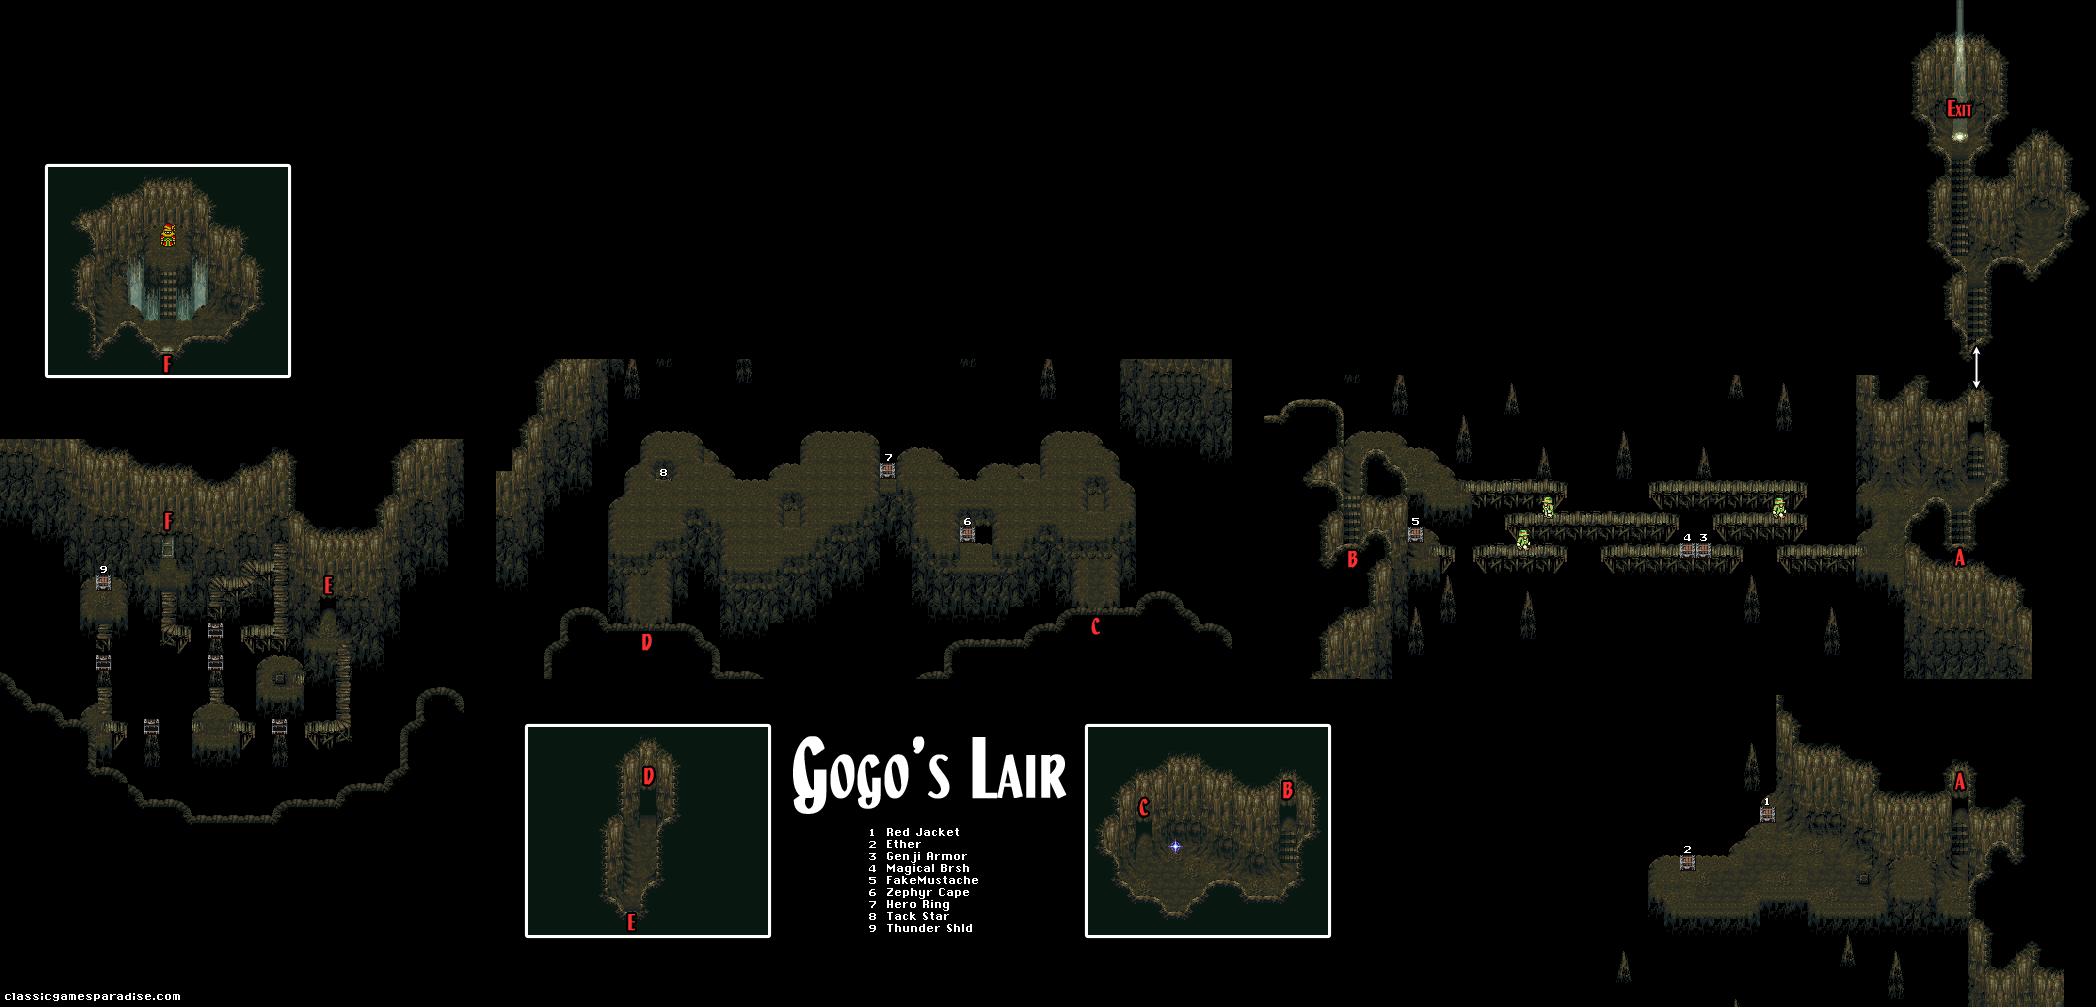
Far in the northeast corner of the world, you will find the aptly named Triangle Island. This dangerous place has become the home of your next target: the Zone Eater. You may be tempted to defeat it just like any other monster, but instead wait and let it use its Engulf ability against your entire party. Once the last character is swallowed, you will find yourselves in a strange cave-like environment.
In the first area with bridges, you will find other engulfed victims just like yourselves. You can jump between bridges with the [A] button, but unfortunately these surly fellows will be happy to push you off into the chasm below. Let the first guy push you off, allowing you to reach the treasures below. You can open the way back upstairs with the floor switch. You can reach the other bridge chests along the way by timing your jumps to avoid their patrols.
When you reach the Save Point, it may be a good idea to save your game. The next room contains a giant rock slab that slams into the ground at regular intervals. Carefully observe the pattern in the rock above, as it will have safe places you can stand every time it comes down. Just be careful — one wrong step and it's game over.
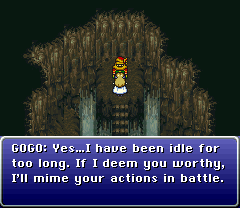
This next area has bridges with open treasure chests that can be jumped over. Step on the floor switch to complete the gaps and don't forget to pick up the Thunder Shield on the left side. Circle clockwise around the top of the room to reach the final area, where you will meet Gogo. This eccentric ally is a master of mimicry, able to duplicate any move that precedes his turn. Even powerful attacks like Bum Rush or Ultima can be copied, allowing him to become a real powerhouse in the right situations. Now that Gogo has joined, return to the light at the entrance or cast Warp to exit.
As you traverse the world on the Falcon airship, you may have already encountered a dangerous enemy called Doom Gaze. This terror of the skies will attack at random, opening with Lv. 5 Death, which will instantly kill any party member who has a level divisible by 5. It will then use its other abilities like Ice 3, Doom and Aero. After a few turns, it will then turn tail and flee. However, any damage you cause to Doom Gaze will carry over to the next encounter, so pile on the attacks as quickly as possible. Fire, Peal and Ultima are especially effective against it.
When Doom Gaze finally falls, you will receive the Bahamut Magicite as your reward. For those hunting Doom Gaze, he will remain stationary at one (invisible) point on the world map while your airship is in flight. Landing will change his location at random again, so keep combing through the skies until he is found.
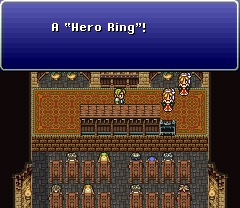
If you haven't already checked out the Auction House in Jidoor, you can pick up the Hero Ring relic for 50,000 GP. This powerful item will increase your physical and magic damage by 25%. Though the physical bonus doesn't stack, the magic bonus can be raised to 50% with two rings equipped. You can buy only one though — you will have to pick up others at the colosseum.
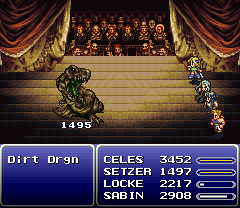
There's trouble brewing again at the Opera House. Talk to the Impressario and he will tell you there's a dragon sitting right in the middle of the stage. Before you proceed, make sure to equip everyone with the Cherub Down relic. You can purchase more if needed back in Jidoor. Enter the upper-right room on the second floor and flip the second switch from the right and you will fall right onto the stage.
The Dirt Dragon will unleash its powerful Quake spell against everyone in your party. This can be countered by casting Float, but he will constantly use the ability 50 Gs to cancel it out and bring everyone back to the ground. However, with Cherub Down equipped, its non-removable Float effect can't be removed. This means that about half of Dirt Dragon's attacks will have no effect on you at all. His physical attacks are still devastating but it's nothing that a Fenix Down can't fix.
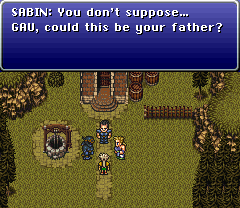
North of Doma, you can find a lone house inhabited by a strange old man. If you enter the house with Gau and Sabin in your party, Sabin will deduce that that old man is actually Gau's father. After a quick makeover in Jidoor, Gau is presented to the man as his son, but he still refuses to believe the truth. Though Sabin becomes angry, Gau stops him, saying he is happy his father is still alive.
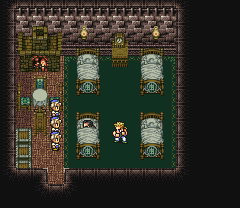
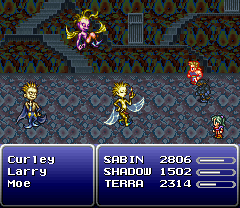
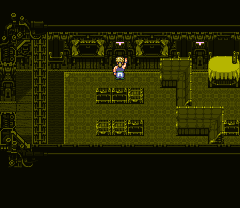
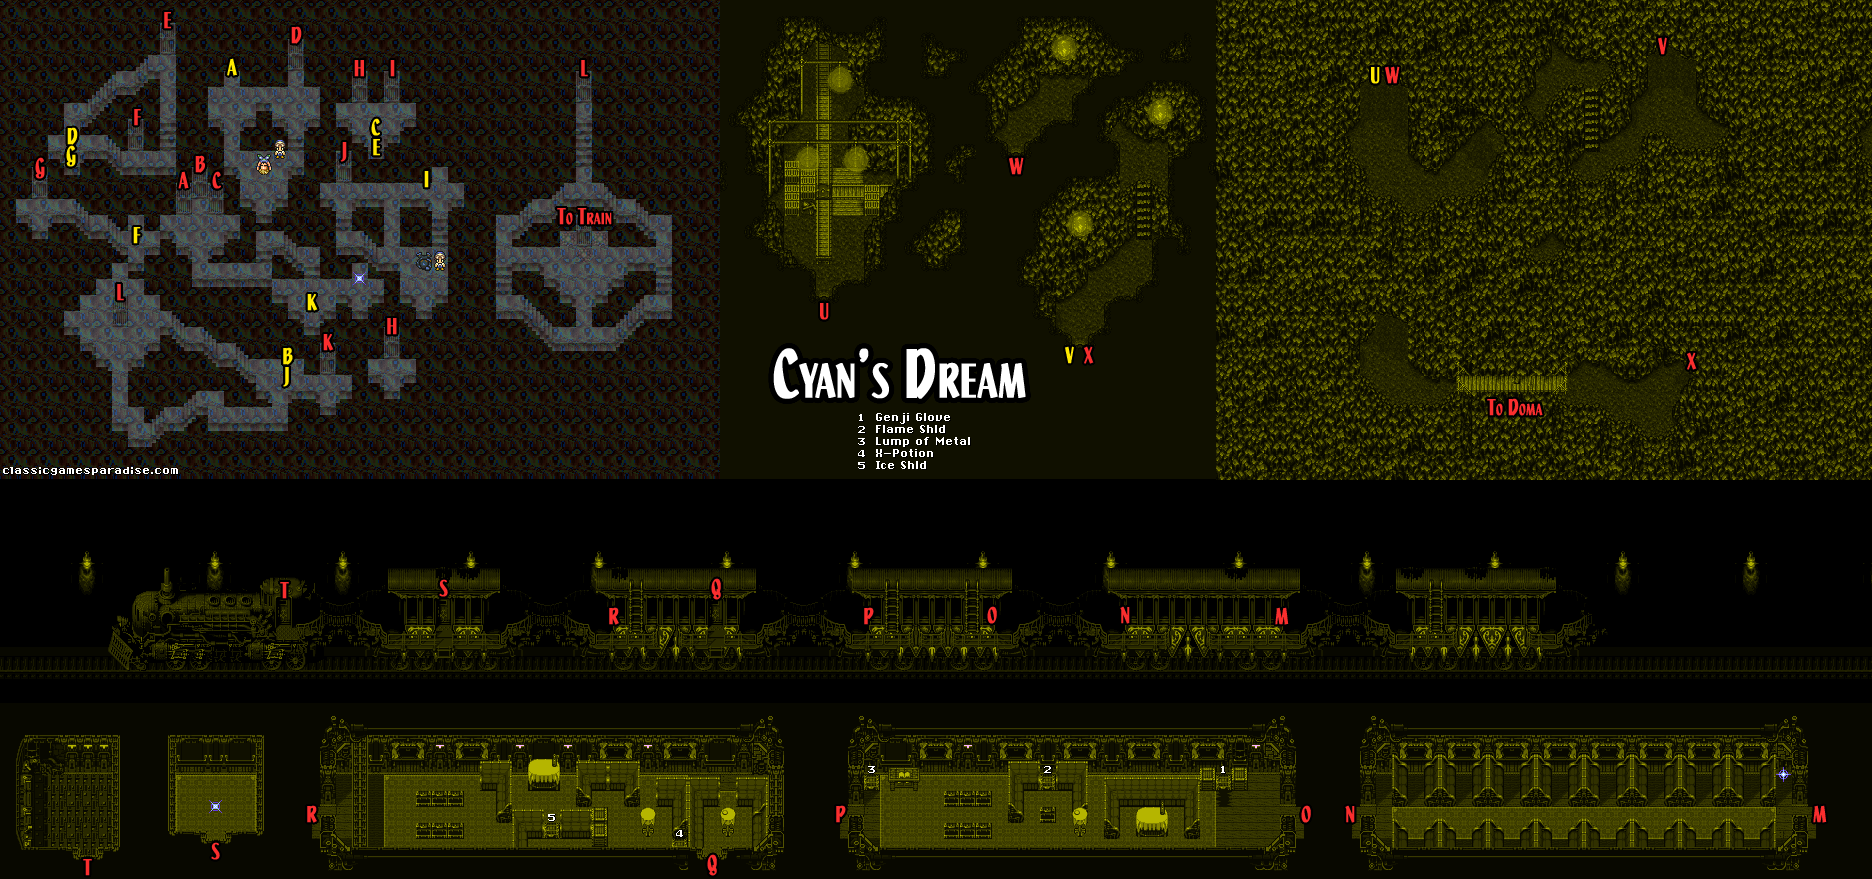
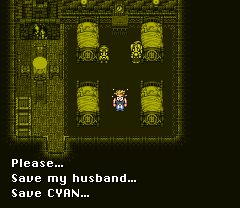
Isolated on an island, Doma Castle still rests abandoned after Kefka's poison put an end to its people. If you bring Cyan along in your party and rest in the back room with the 4 beds, you will be interrupted by three spirits who introduce themselves as Curley, Larry and Moe. The 3 Dream Stooges intend to feast on Cyan's soul, and it's up to you to stop them.
You will wind up in a strange place filled with floating platforms and doors that seem to lead to places at random. Since you only have one party member, you will need to find your friends as soon as possible. At the 3 doors, take the left-most one to find the first person after scaring off one of the Stooges. After taking the lone door, go up the stairs to take the top-most door, then take the right-side door to find your next party member. Now that you have everyone except Cyan, it's time to get out of here. Take the lone door and walk left up the stairs to find a single door that will take you to a new area, where you will finally face off against the 3 Dream Stooges.
Of the three, focus on Curley (top), as he will be able to revive the others if they are defeated. Their combo attack is especially dangerous, as it can turn characters to stone, so be ready with a Soft on the next available turn. The other two will unload with party-wide magic attacks that shouldn't do much damage if you are properly equipped.
Through the door, you will find yourself back on board the Phantom Train. Inside the first car, flip the switch twice to move the crates out of the way to receive the Genji Glove relic. The next chest will be blocked by another rapidly shifting empty chest. Pick up the Lump of Metal from the empty chest next to the desk and then put it into the empty chest to weigh it down. Before leaving, flip the left wall switch to close three of the chests. Be sure to remember this configuration, as it will come up again shortly.
In the next car, you will need to flip the switches in a certain order to open the path forward. Of the three switches, press right, left, right, center, right, then left to create a path along the lower wall. Ahead, you will find two rows of chests, just like back in the previous car. Close them to create the same pattern you saw before, then flip the switch to open the wall. Ahead, enter and exit the locomotive and you will suddenly be in a mine shaft.
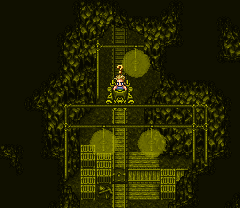
Fortunately, you will be riding in Magitek Armor as you fight though Cyan's fear of mechanized contraptions. When you reach the outside cliffs, the paths will confusingly loop back around in a circle. To get though, enter the cliffside cave to the right, then simply immediately walk back through the same cave door to exit into a new area. Follow Cyan over the bridge and you will be back in Doma Castle.
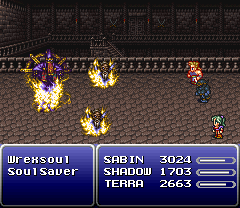
At the throne room, you will finally find Cyan along with Wrexsoul, who has been feeding off his pain and anguish. Wrexsoul will open the fight with Zinger, which allows him to possess one of your party members. In this form, he cannot be attacked until forced to reappear, either through that character being killed, petrified, or inflicted with zombie. To make matters worse, the two SoulSavers will endlessly reappear if they are killed normally. However, if you use X-Zone against them, the SoulSavers will be removed for good. A simple way to reveal Wrexsoul is to cast Break against your own party, then curing them right after with Soft. Thunder Shields will help defend against most of his attacks, and his weakness to Ice will help you make quick work of him.
With Cyan's soul now at ease, you can finally depart Doma Castle, but don't forget to pick up the Alexandr magicite in the throne room first.
Ebot's Rock
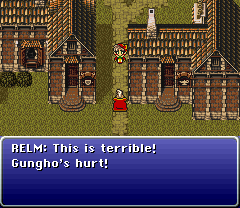
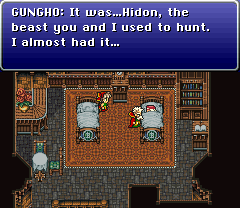
If you return to Thamasa with Strago and Relm, you will discover that Strago's old friend, Gungho, has been injured by a powerful monster named Hidon. Having spent his youth hunting the dangerous creature, Strago decides he has no choice but to take care of it once and for all at Ebot's Rock.
The cave's entrance can be found on the small island directly north of Thamasa. Within, you will encounter a talking treasure chest with a big appetite for coral and he won't let you pass without getting his fill. Floor tiles in Ebot's Rock will teleport you randomly around the cave. Each segment will have a treasure chest that contains Coral. You will need to keep teleporting around the area to collect enough coral to feed the chest whenever you happen to end up back near him again.
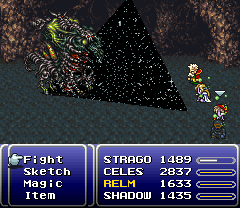
Once you are past the chest, you will encounter Hidon. Flanked by four Hidonites, they will bombard your party with various status ailments, so any Ribbons you have will be helpful here. The top-most Hidonite can inflict Zombie, so it should be defeated first. If you have Ultima, all four can be defeated in a single cast. Once Hidon is all alone, he will unleash his Grand Train ability. This is what you came here for; once Strago observes that ability, simply throw a Fenix Down at Hidon to quickly bring the battle to a close.
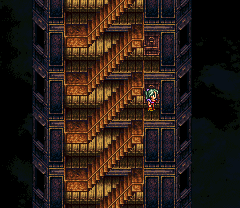
The Tower of Fanatics was erected after the cataclysm by Kefka's most devout followers. Only magic can be used in this place, making it essential for you to have a well-developed team before attempting the climb. Life 3 from the Phoenix Esper should be learned by at least one party member.
Because enemies will be using magic, Wall Ring relics are a great way to defend yourself with its non-removable Rflect spell. . You can pick them up in Thamasa, South Figaro, or Albrook. Many enemies will also have Rflect cast on themselves. By casting magic against your own party members with Rflect active, you can safely bounce your spells back against enemy targets. With this setup, targeted healing of your own party in battle will need to be done though healing items.
Relics like the Gold Hairpin can reduce the burden on your MP and the Charm Bangle can lower enemy encounters to make the climb more manageable. If Mog is along, his Moogle Charm can negate all encounters. Osmose can be very effective against these magical enemies, but sometimes they will use it back against you. To counter this, keep a supply of Tinctures on hand in case your MP is reduced to zero.
If you remember speaking to one of the thieves back in Maranda, you will recall hearing about a secret passage. In the first treasure room, check the wall to the right of the chest to open a hidden door outside. Investigating will reward you with the Air Anchor for Edgar.
You will encounter the White Dragon on the way up within one of the treasure rooms. With Wall Rings equipped, its magic attacks will bounce feebly away. Attack by casting elemental spells against your own Rflected characters, and use Osmose to keep your MP high.
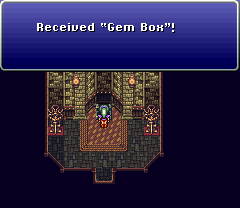
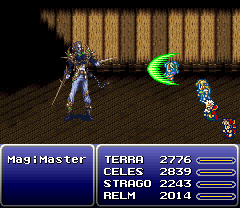
When you reach the top, you will find the Gem Box relic and the powerful Mage Master who has been guarding it. Immediately cast Life 3 on at least one party member. Throughout the battle, his magical defenses will constantly shift. You can put a stop to this by inflicting him with Berserk. When his HP is reduced to critical levels, he will cast Ultima which will wipe out your entire party — and himself along with you. However, with Life 3 cast, you will be able to survive his final attack.
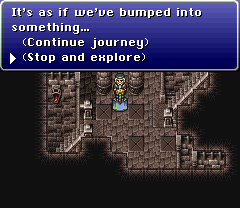
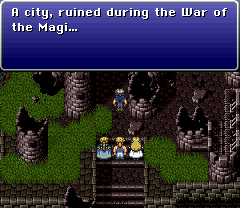
One thousand years ago, the War of the Magi ravaged the entire world. Fought between Esper and human, this ancient battlefield still lurks somewhere beneath the surface. While Figaro Castle is positioned near Kohlingen, talk to the engine operator to travel to South Figaro. On the way there, you will bump into something underground. Choose the option to stop and explore, then exit Figaro Castle via the hole in the prison's jail cell.
This strange cave has many hidden passages under overpasses and through the cave walls. Some of the strongest items in the world wait just ahead, so be thorough in your search. The right-most door will lead to a trapped chest with the Master Pug. His elemental weakness will change throughout the battle, and will always be the opposite of the type of magic he is using that turn. Physical attacks and non-elemental magic like Flare will save you a lot of headache here. Focus on dealing damage as quickly as possible, as his kinfe attacks will instantly kill a party member if he gets near.
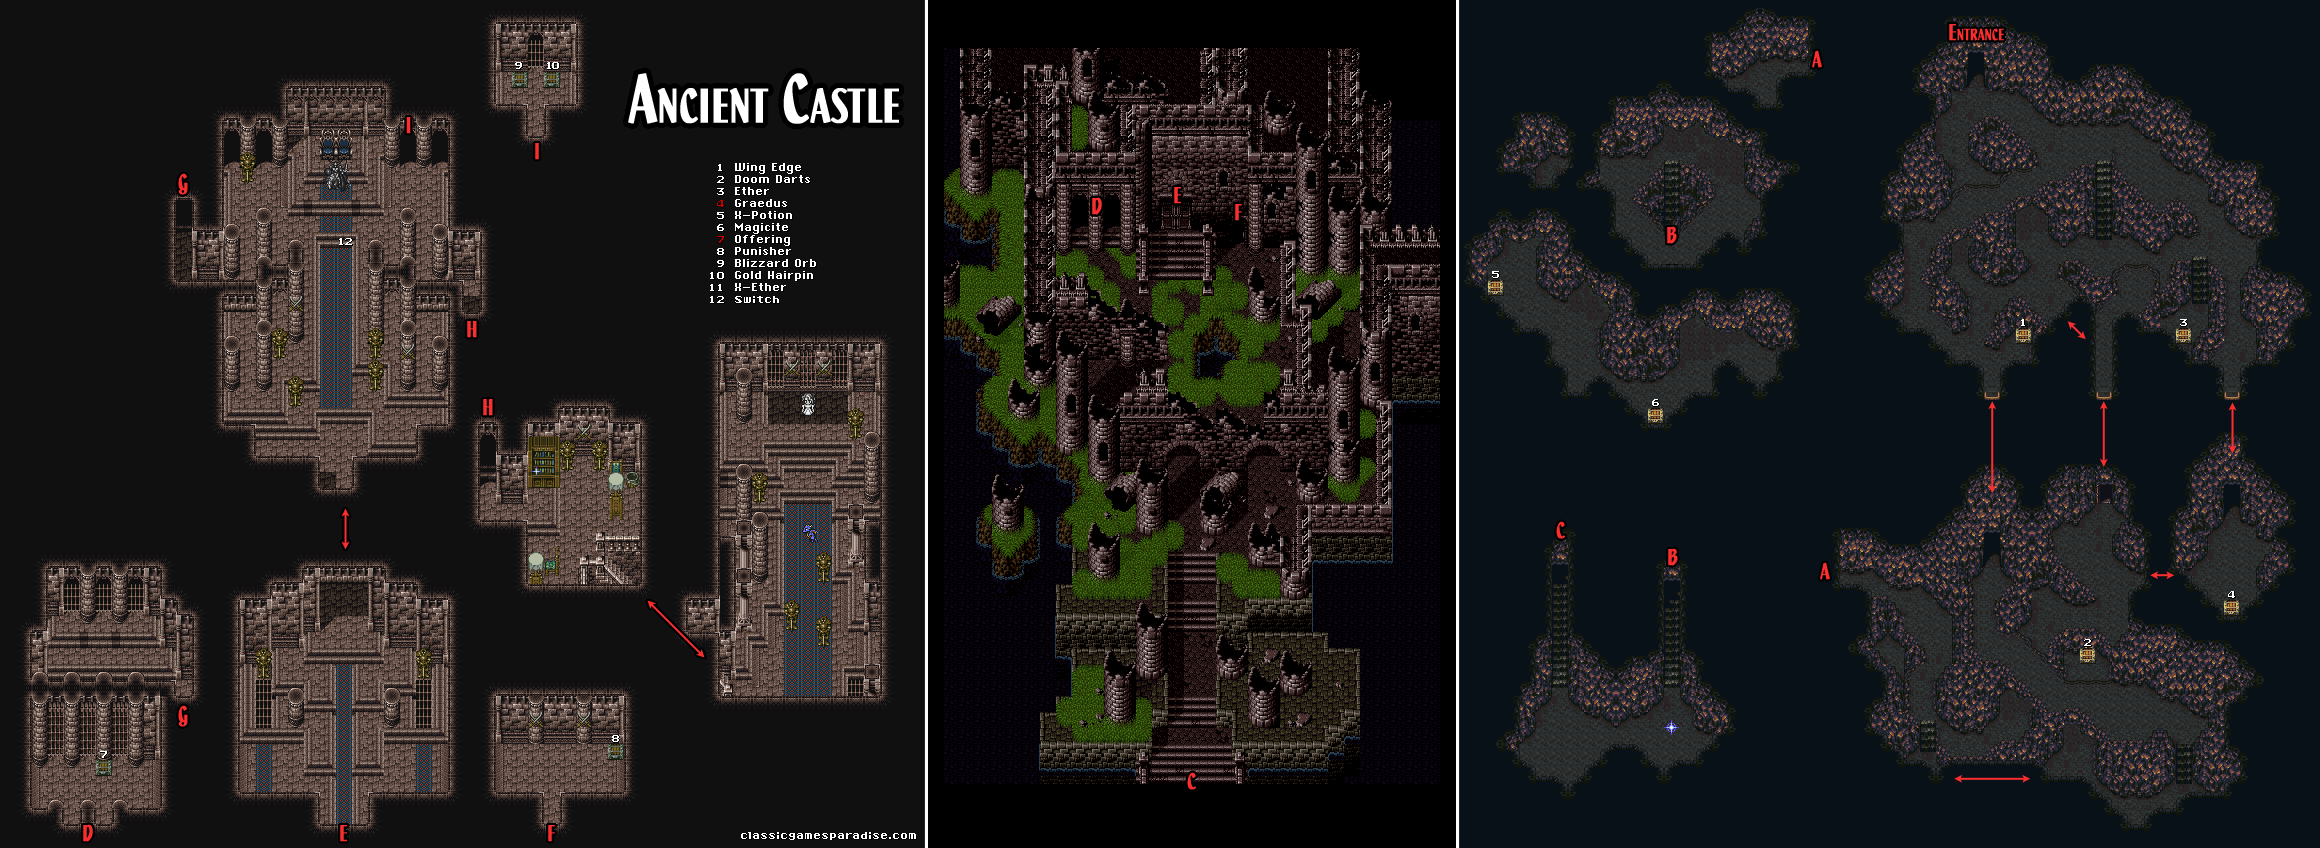
At the end of the cave, you will find the exterior of an ancient buried castle. The left-side door will lead to a single trapped chest with the Katana Soul. His powerful single target and party-wide attacks will keep you on the defensive if you aren't careful. Cure 3 is a must-have for this fight. Halfway into the battle, he will become more focused, making him even more deadly. Fortunately, he is very weak to Bio, and even Muddle can stick on him. If you have Locke along, be sure to use steal one of the three blades he is carrying. For winning, you will receive the Offering. Arguably the strongest relic in the game, it will allow you to use a regular attack four times every time Fight is selected in battle.
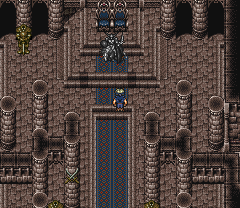
Continue on to the throne and you will find Odin still frozen in stone. Checking the statue will reward you with the Odin magicite. If you investigate the lower-right door of the throne room, you will find the queen's diary which reveals the love she secretly harbors for Odin. Walk down 5 steps from her throne (right side) and you will open up a secret stairway in that room.
Below, you will find the Blue Dragon roaming the ancient hall. Most of its attacks will target the entire party but can effectively be countered with a party-wide Cure 3. If any character has the Haste status, the Blue Dragon will cast Slow on itself and then exchange magical enhancements. RunningShoes will make you immune to Slow, otherwise make sure not to use Haste on anyone. Focusing on his weakness to Bolt can make this fight much shorter.
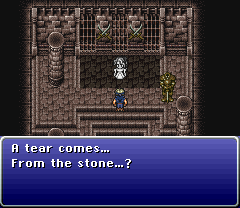
Still ahead, you will find the Queen's statue as well. Approaching, a tear will come from her and turn the Odin magicite into Raiden. Odin is the only way to increase your Speed stat, but Raiden has the only method for learning the incredible Quick spell, which will give you two full uninterrupted turns. The Ancient Castle can be returned to again if you want to make the exchange later, but Quick is a must-have for anyone looking to completely dominate any boss battle going forward.
Final Preparations
Before taking on Kefka, you will want to make sure all of your characters are prepared. Since you will need to form 3 full parties, everyone should be over level 40. The Dinosaur Forest, located on the sparse continent north of the Veldt, is a great place to train due to it being on the overworld where you can easily rest up at an inn or with a Tent. Additionally, the Brachosaurs there will drop the Economizer relic, allowing you to cast any spell for only one MP.
There are other relics you will want to have that will make this final section much easier. They include: the Gem Box from the Tower of Fanatics, the Offering from the Ancient Castle, the Genji Glove from Doma Castle, Gold Hairpins, and Mog's Moogle Charm from Narshe. You will also want multiple Ribbons, which can also be found from the Brachosaur in the Dinosaur Forest.
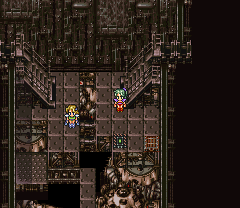
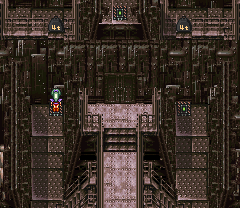
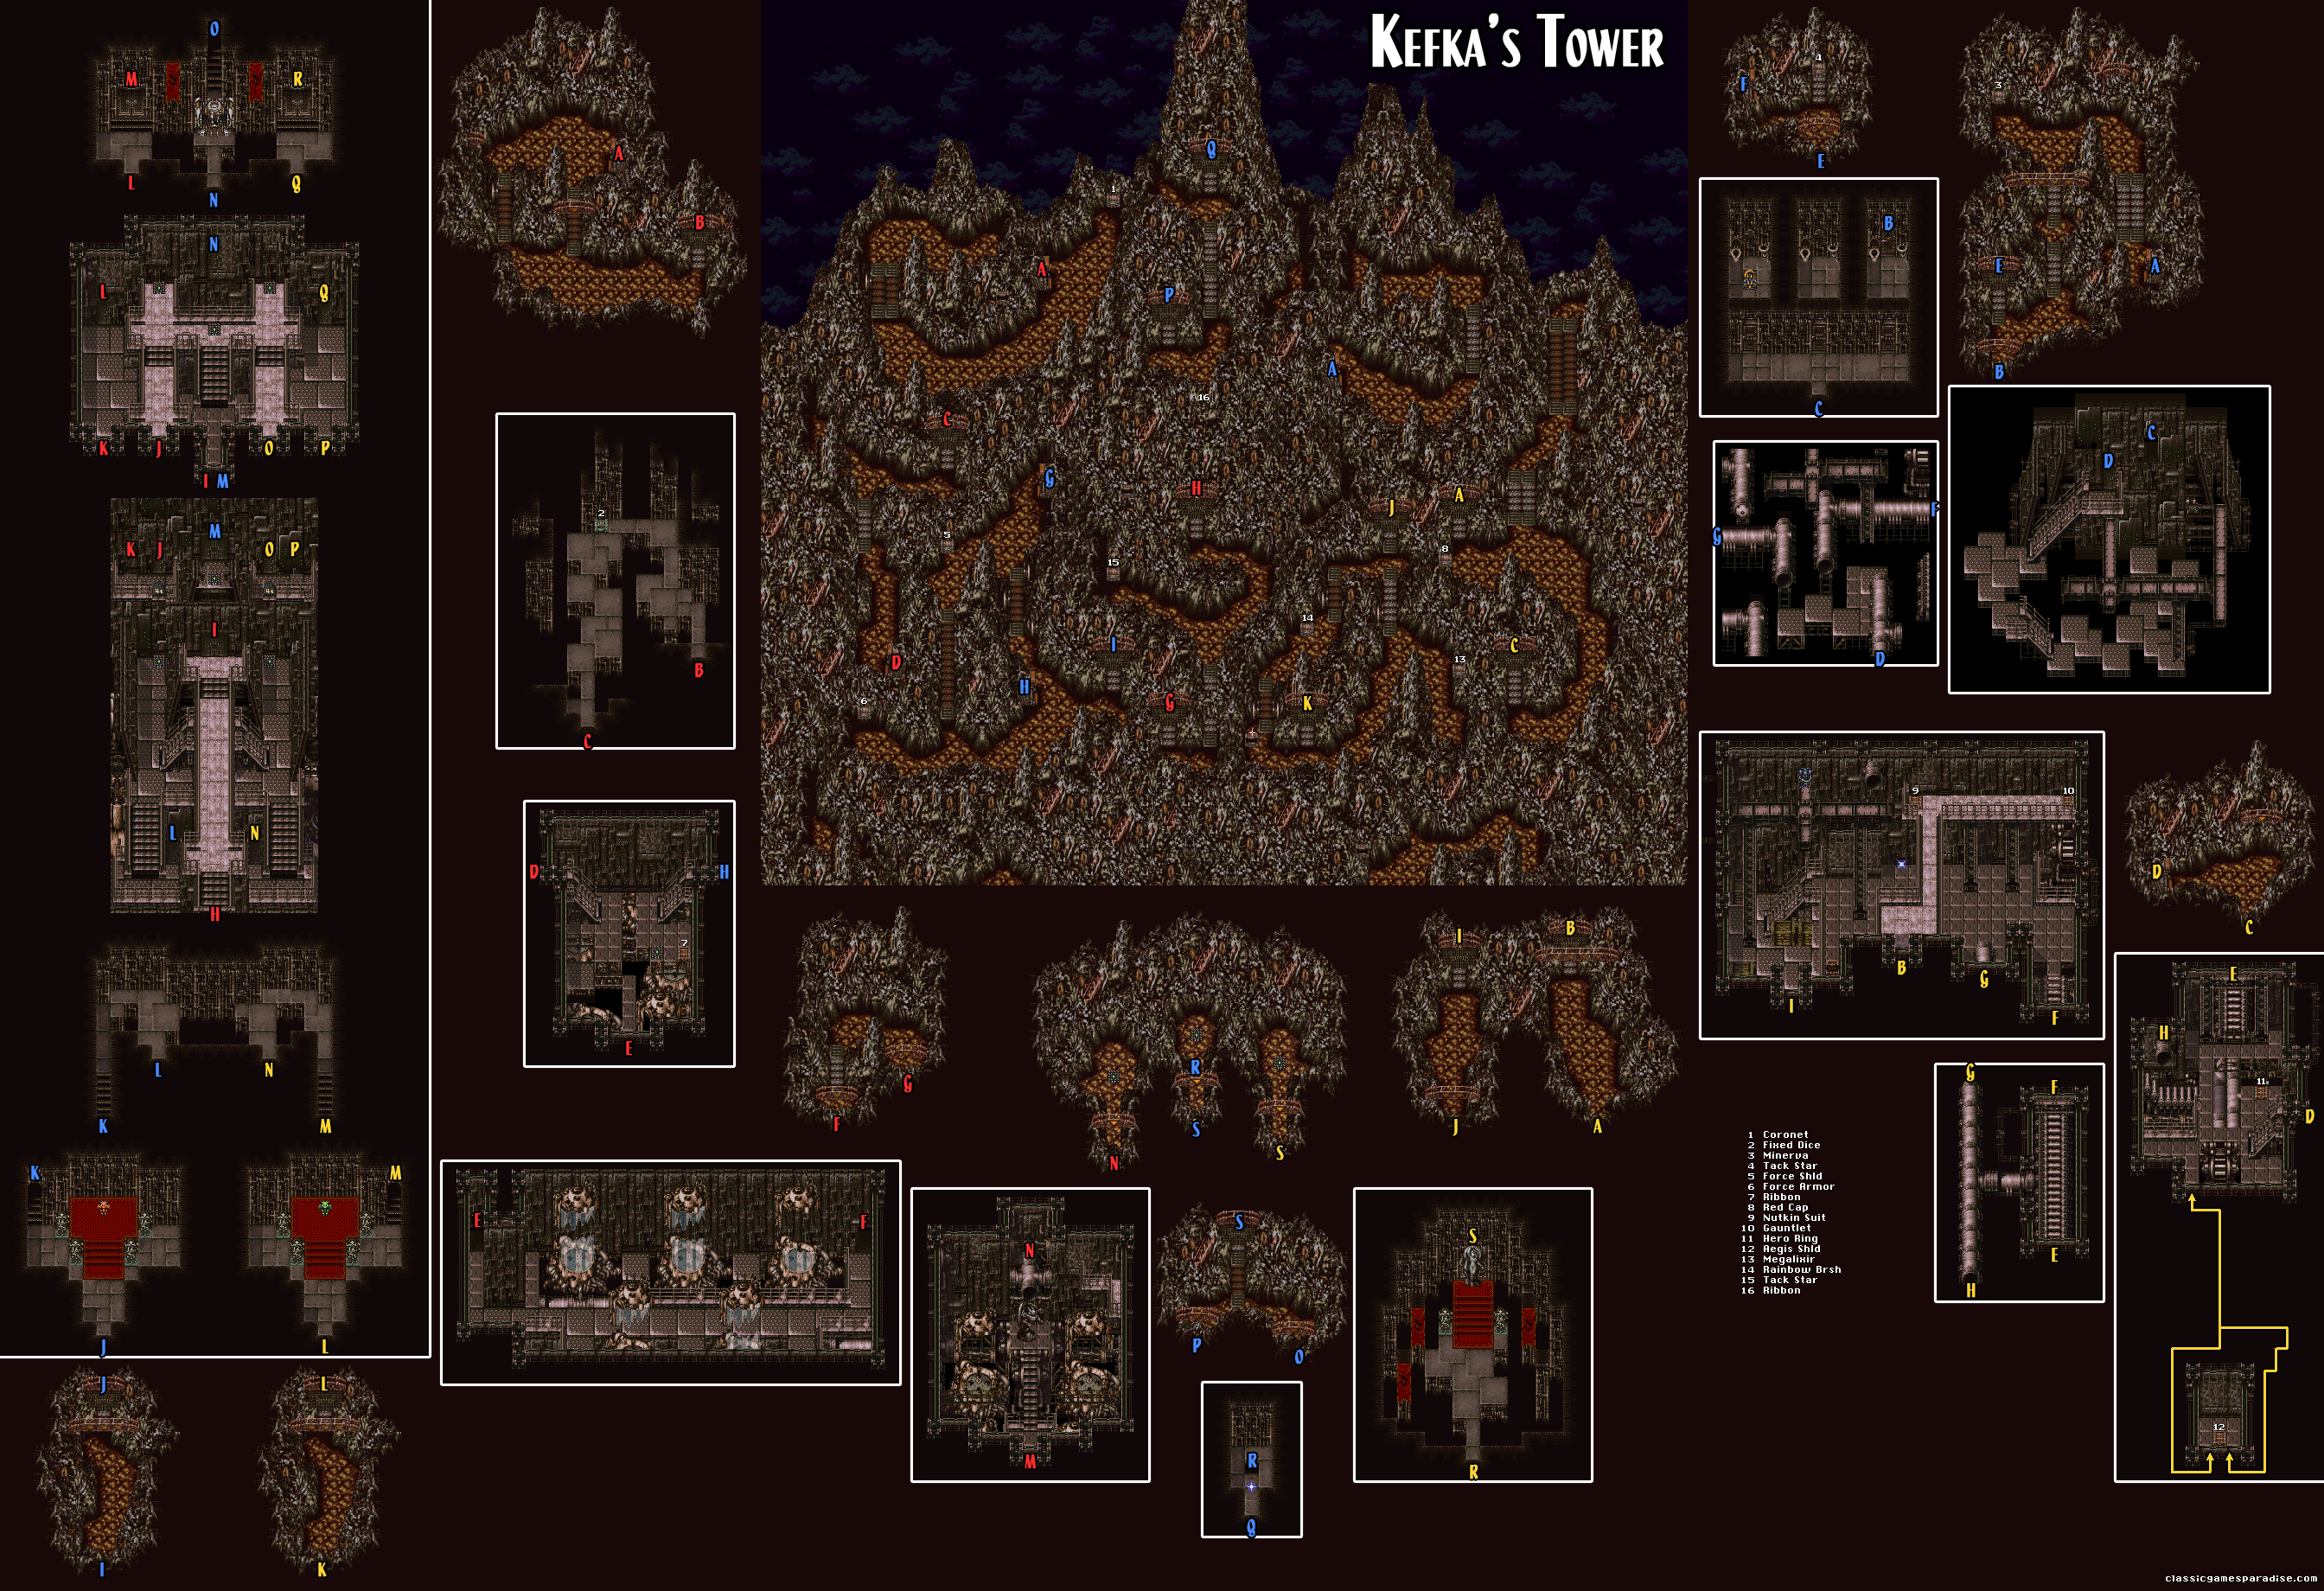
You will find Kefka's Tower between Albrook and Tzen. Formed by the remnants of Vector and the old world, this twisted structure is home to Kefka's most dangerous companions. You will need to split into three teams that will open the way forward for each other. Each party will need to be capable of facing the powerful bosses within, so make sure everyone is equipped and leveled up. Party 2 and Party 3 will be facing the bulk of those bosses, so keep that in mind when choosing members. You will want to carry a healthy supply of tents so you can fully recover at the save points you will find. If you find the monsters here too strong, you can leave the tower at any time via the airship's hooks at your drop-off points.
Party 1 can begin by following the narrow path counter-clockwise around the tower's exterior, which will eventually lead you to an apparent dead end. Switching to Party 2, you will quickly reach a split path between a doorway to the north and a passage to the south. Take the south path to reach one of Vector's lavatories, along with Atma.
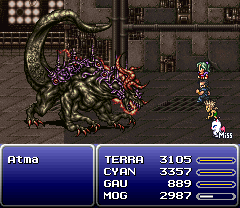
Atma will use strong elemental magic against you, along with the party-wide attack S. Cross. When he receives enough damage, Atma will spend two turns preparing to unleash Ultima. To counter this, make sure as many party members have Life 3 cast on them as possible. Eventually, he will add Quake to his list of attacks, so counter with Float beforehand. Atma absorbs Earth, Pearl, Wind, Water and Poison elements, and is also immune to most status ailments. If Celes is along, her Runic Blade can stop most of his attacks.
Continue through the southern door or return to the previous area and take the northern door to pick up a treasure chest along the way. Both paths lead to a room full of tubes. Take the left-most tube to reach another section of the tower's exterior, then take the left-side doorway to the south to reach the room where you left the first party. Step on the floor switch to open a path forward for them.
Staying with Party 2, return outside and take the doorway to the right to eventually reach a platform where the Gold Dragon awaits. The Gold Dragon will attack with powerful Bolt attacks, so equip any Thunder Shields you have. Water magics are especially strong against him, but as long as you have defense against Bolt, the battle should be a breeze. Ahead, walk up along the metal pathway to find a series of switches. Step on the left-most one to activate it.
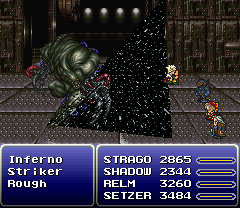
Switch to Party 3 and you will find there are two doors below to choose from. The upper-most one will lead you to a dead end with two treasure chests, while the bottom-most one will be the path forward. After taking that bottom door, you will reach a small room with a rotating gear at the bottom. Check to the left of that gear to find a hidden passage leading down to an Aegis Shield. Ride the conveyor up and walk left though the room, where you will be ambushed by Inferno.
Even though Inferno's arms will regenerate, they can still be destroyed with multi-target abilities like Ultima or Strago's GrandTrain to prevent it from using its petrifying Delta Hit against you. He is weak to Bolt, but will protect itself with Rflect and Safe when its arms are gone.
Back outside on the tower, keep an eye out for an opened chest with a shining red light to the left of the doorway. Investigate it to find a hidden switch that will open the way for your other party later on. The path will eventually lead you to another familiar platform containing the last of the legendary eight dragons.
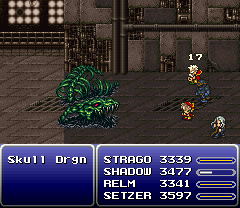
The Skull Dragon will attempt to inflict a concoction of status ailments against your party, but the Ribbon relic will defend you against them. His weakness to Fire and Pearl will allow your magic users to pile on the damage while the others keep everyone alive after he uses Doom. Osmose can also drain his MP to prevent the most dangerous attacks from being used. With the final legendary dragon defeated, the Crusader magicite will finally be yours.
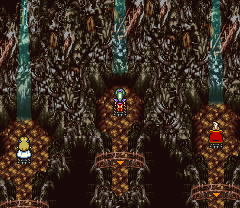
Continue along the metal path to find another floor switch that will finally open the central door. Switch back to Party 1 and continue on through the ruined Magitek lab to eventually reach the metal pathway. Go through the now-opened central doors and you will find another series of switches. The choice you make here determines which of the two parties below will face the two powerful bosses ahead. If you want to use Party 2, go right. If you want to use Party 3, go left. Whichever choice you make is final, as the path will close behind you.
Go outside to find a weight sitting above the floor switch. Move the party below out of the way, then push the weight down to open a stairway up to the central path. Switch back to the party below and walk though the central doors to do the same thing on the other side. Now, your last party can walk up the central doors leading to the Guardian blocking the way.
The Guardian is able to run several battle programs that emulate past bosses you have faced. In addition, it will also charge up to use its WaveCannon ability that will hit the entire party with Bolt damage. It has a weakness to Bolt and Water attacks, and even non-elemental magic like Flare and Ultima can help make quick work of him. If Locke is along, this is a good opportunity to steal another Force Armor. After resting up, another battle awaits beneath the tower's spire.
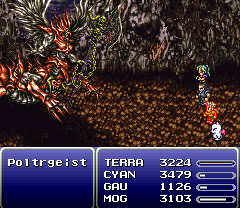
The Poltrgeist has many strong attacks that will hit the entire party and you may find yourself being forced to focus on defense if you aren't careful. Keep everyone's HP high and try to hit him with Bio as early as possible. Avoid Fire and Wind spells and stick to non-elemental magic like Flare as much as possible. Shell can also really come in handy here to defend against his rotating selection of elemental magic.
After the battle, rest up at the save point if needed and jump down the pit. Go south to the intersection and take the right-side path to return to the switch room where your other two parties still wait. Exit through the south door to reach a balcony with a floor switch and activate it to open a doorway for both parties on each side.
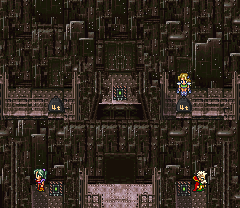
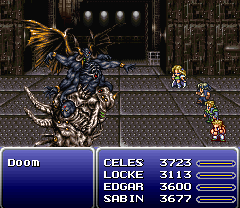
Switching to the Left Party, head up through the newly-opened doorway and you will encounter the second statue. Doom will open with a series of ice attacks. The most dangerous of these will be N. Cross, which can freeze characters until they are thawed with a Fire attack. Doom is weak to Pearl, but will absorb any Ice attacks used against it. After taking enough hits, its R.Polarity will swap the rows of your entire party. You can switch each character back by pressing [Left] on the D-Pad if needed. Once it reaches half HP, it will put up its ultimate defense which includes Rflect and Image. Using attacks that will always hit like Blitzes and Tools can be helpful here. When Doom focuses on a single character to attack, casting Safe can help them survive. After emerging victorious, head north and step on the floor switch.
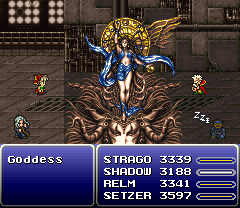
Switch to the Right Party, who will face the third and final statue. Despite her relatively low HP, the Goddess has many special attacks that will keep you on your toes. Many of her attacks are Bolt-based but the real danger lies in her special status ailments. She will absorb Bolt and Pearl elements, and also has Shell active, which will reduce the damage of other magic attacks. You can get around those defenses by using non-elemental attacks like Flare and Ultima. She will also attempt to Charm one of your characters, forcing them to attack the rest of the party. When she takes enough damage, she will use her Overcast ability that will inflict Doom on the entire party and any character who gets KO'd from that point on will return with the Zombie status. Only the Memento Ring or Safety Bit can counter this. Because the battle can quickly get out of hand at that point, focus on offense to bring it to a close as quickly as possible. After winning, go north and step on the floor switch.
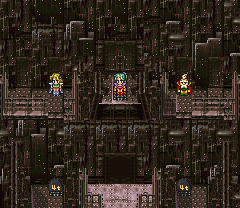
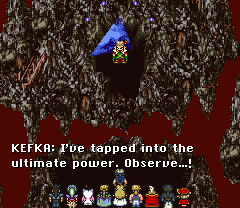
Return to the Center Party, and go back to the spire where you found the last switch. Be sure to make any final preparations before activating it. To stop Kefka's demented plans, you will need to determine in which order your party members will face him. If one character falls, the next on the list will step in, so put your strongest fighters at the top. This battle will play out in four phases, fighting against each of the three statues once again and ending with Kefka himself.
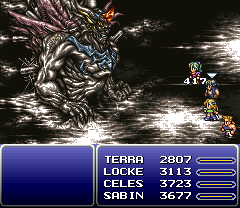
Phase 1 will throw R.Polarity at you once again and also lower your defenses, so switch your rows back as soon as possible. Exploit its weakness to Fire and keep an eye out for its Dread attack which can turn characters to stone. If the central body is defeated while its arms are dead, it will unleash one final Quake spell, so save the arms for last.
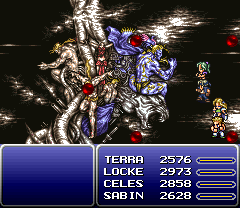
In Phase 2, you will fight four strong opponents who have very different sets of moves. Each one will launch a powerful final attack, so keep that in mind as you defeat them. The tiger figure is the real danger here, as it will freeze you with N. Cross while Flare Star and S. Cross can deal heavy damage to the entire party. Even worse, it will begin inflicting Zombie when it becomes weak enough. Needless to say, this should be your first target. The purple figure to the right will focus on physical attacks which can be countered with Vanish and Safe. The blonde figure to the left will throw spells at you, which can easily be countered with Mute. The gear-like figure in the center will use strong mechanical attacks against you. Fortunately, it's vulnerable to Doom and can be instantly killed by Strago's L. 5 Doom. Instead of focusing on each target one at a time, powerful group attacks like Ultima can help in taking down the entire bunch.
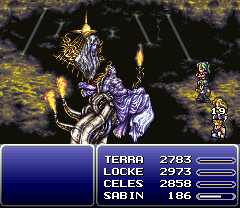
Phase 3 will have you facing two enemies that will focus on offense and defense. The resting figure will use W Wind to bring your entire party to critical HP and then try to finish you off with Merton. He will also use Doom. At low HP, he will start using Meteor as a regular attack and as a counter-attack. The female figure will use Pearl Wind to heal them both for 9,999 HP and can also revive the resting figure. Because of this, she should be defeated first. She can absorb all elemental damage, but non-elemental magic like Flare can still be used. The resting figure's final attack can cause instant-death but since it's physical, it can be countered with Vanish.
In the last phase, you will finally face Kefka. He will open with Fallen One, which will reduce all party members to a single HP. Heal up quickly as he will follow up with magic or his Havoc Wing attack, which can easily KO a single character. He will use status ailments against you but they can be countered with Remedy. Eventually, he will begin using Goner, which will deal large amounts of damage to the entire party. He will eventually begin countering with HyperDrive, a strong single-target attack, and Ultima. He won't counter at all when charging up Goner, so it's a good idea to focus attacks at that time. Because this battle can turn around so quickly, it may be a good idea to hold a character's turn in reserve to heal or revive if needed.
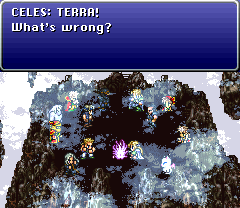
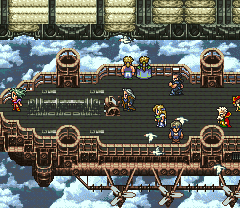
As Kefka's Tower crumbles around them, your party works together one final time to make it back to the airship where they are able to view the changed new world beneath them.
The End